This site uses cookies to improve user experience and for analytical purposes.
ALBUMS
How to make a traditional photo album?
Nowadays, printing photos and making a traditional album may seem almost ancient. However, it's more important than ever.
Think about it, with the advent of smartphones, we take photos practically every day. We send them on WhatsApp, we share them on social media. But after a while, they tend to be forgotten.
We have so many photos that we end up not having any.
Making or updating photo albums is one of those things you never have time for and it's always on your mind.
They involve the initial work of selecting photos, printing them, buying the album, the adhesive to stick the photos... and once you have everything, you have to find that time. But it's worth it.
Come on! Get to work.
Discover the keys to deciding which album to buy and how to start making your own traditional photo album in a simple and fun way.
Keep in mind that making an album of a special event, a getaway to a paradise, a romantic weekend, your child's first birthday, or an album to tell your family history, among other ideas, is not the same.
There are several factors that influence the choice and purchase of the most suitable album :
After all the hard work, make sure the album isn't just another piece of junk. It's important to find a special place for the family photo albums you're making.
How much do you want to spend on the photo album?
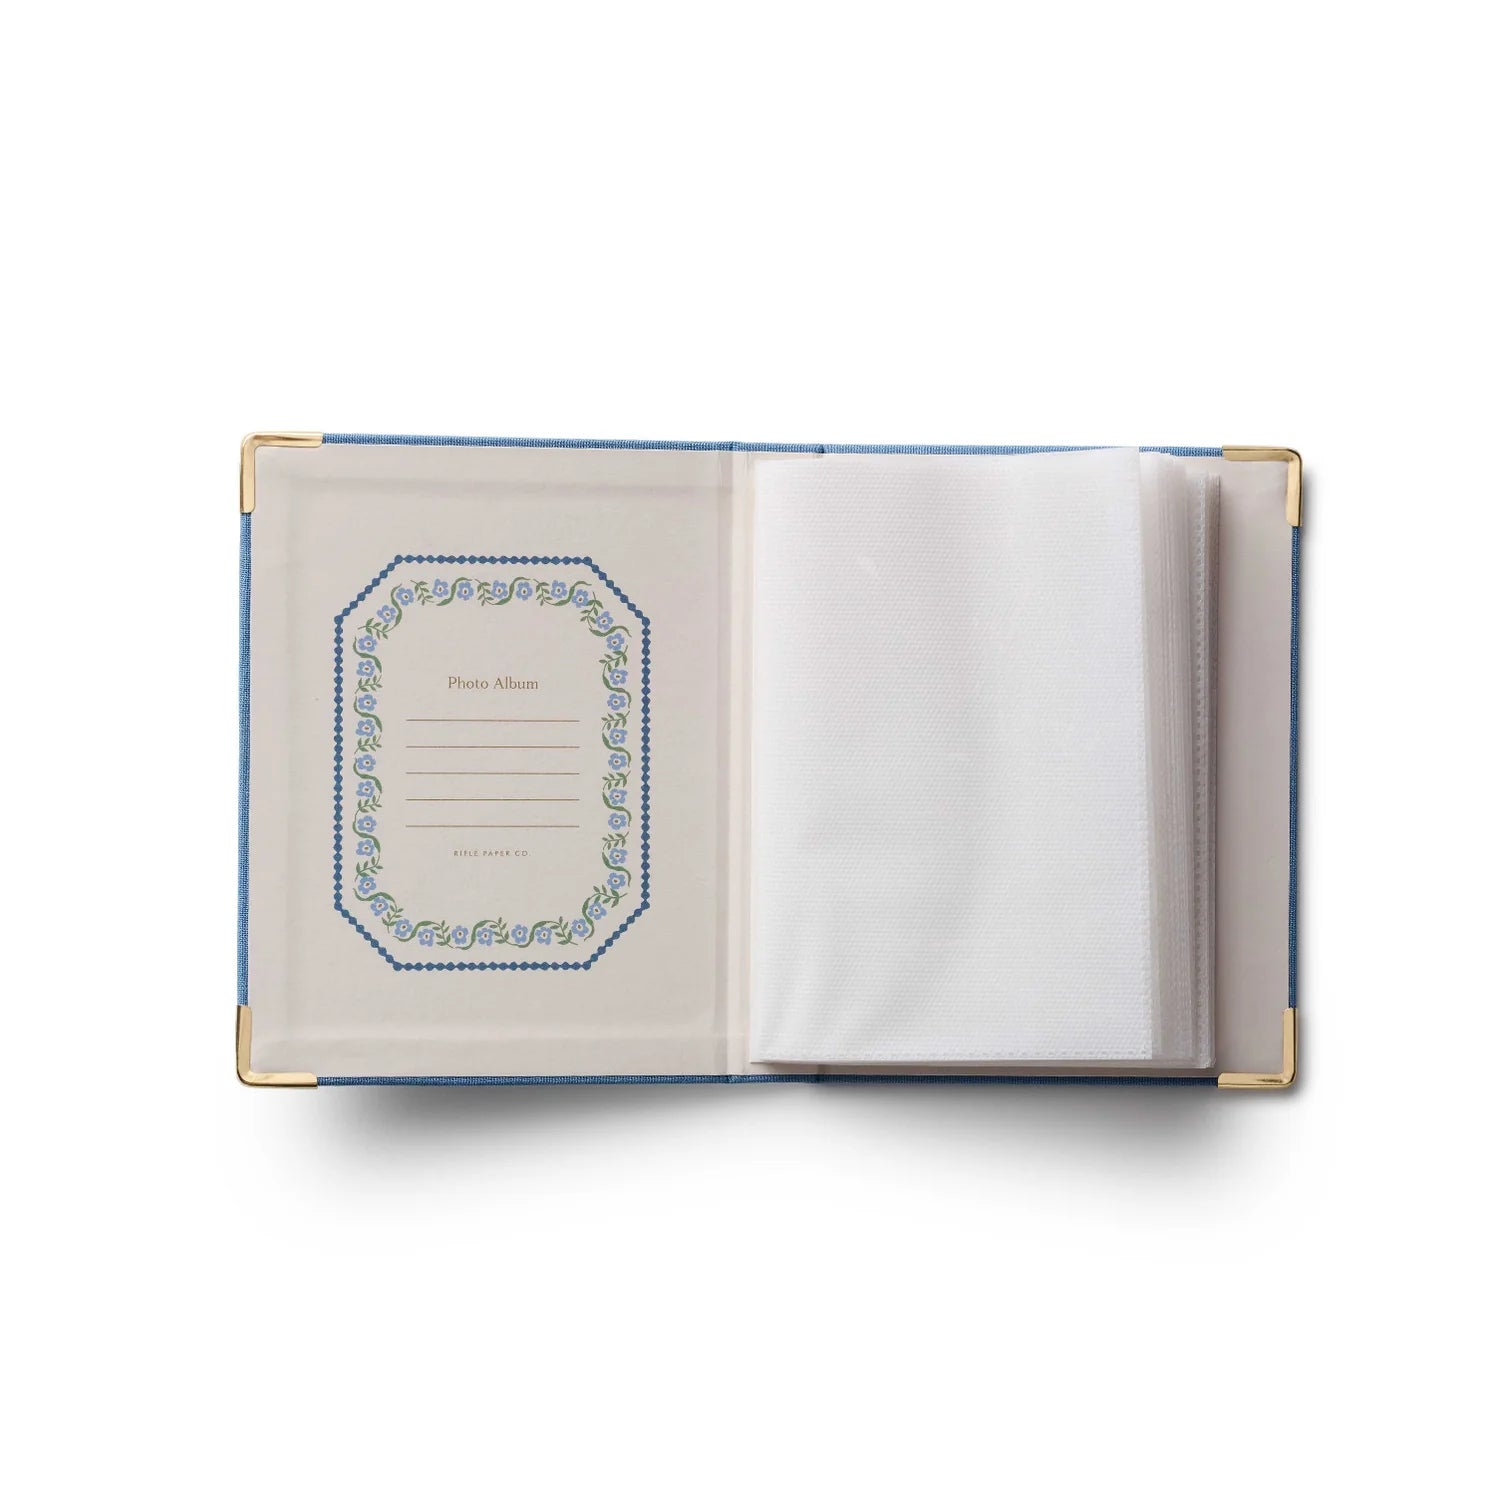
Our albums range from €11 to €59. Take a look, compare, and set a quote. At Pepa Paper, we have photo albums in a wide variety of formats, sizes, and colors . You're sure to find the perfect photo album for you.
Traditional photo albums for special occasions
How to make a sticky photo album: step by step
There's nothing like the satisfaction of something made with time and love by yourself, right?
The value of a traditional photo album is passed down from generation to generation, passing on those qualities, the effort, and the love invested while telling the story through photos and notes. Photos that come alive.
And even if it doesn't seem like it right now, it's much easier than you think. Don't miss the 4 steps below to get your album.
#1 Start by choosing the size: large, medium, or small
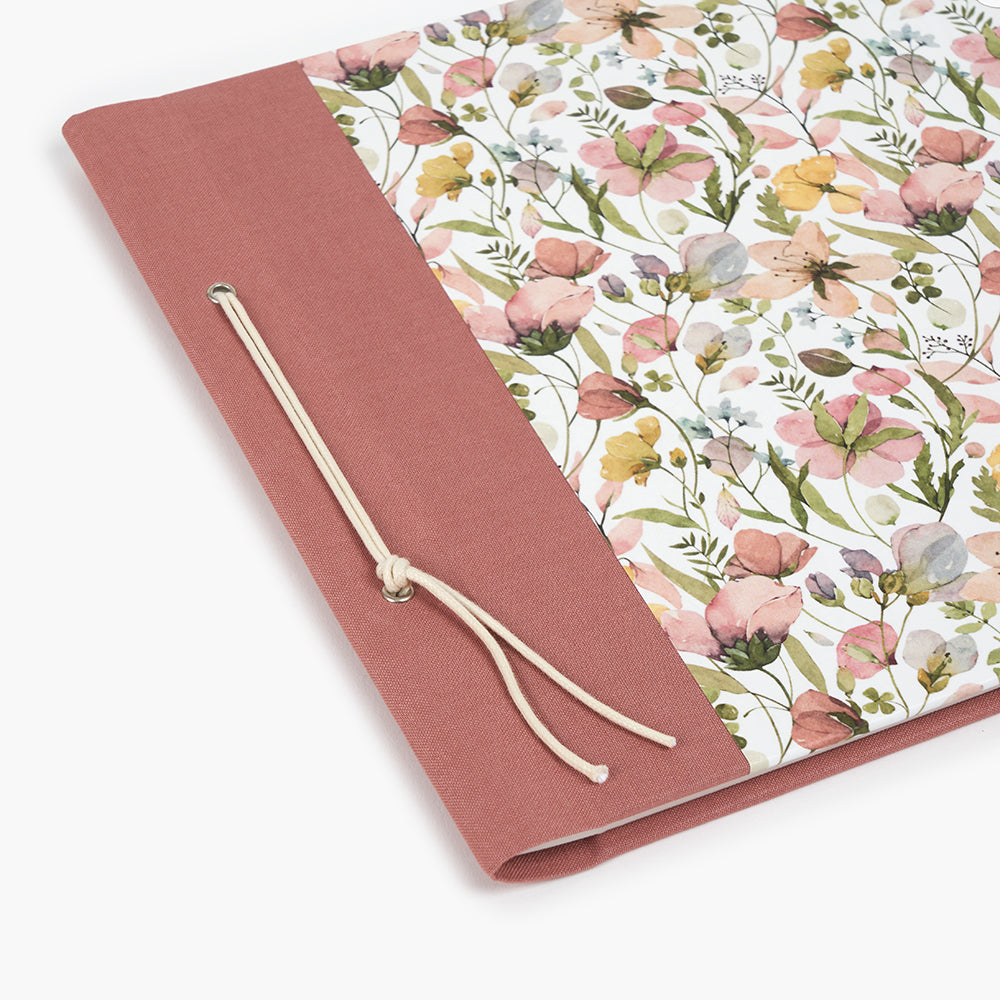
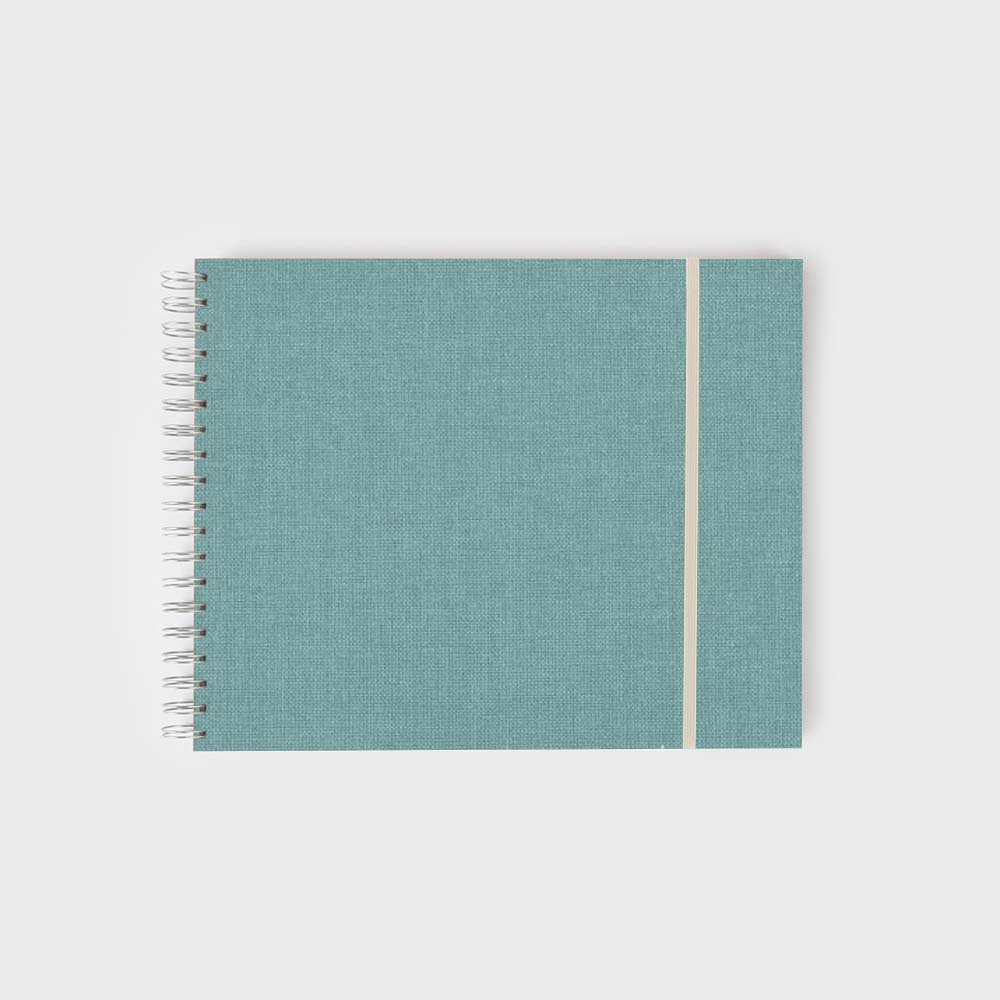
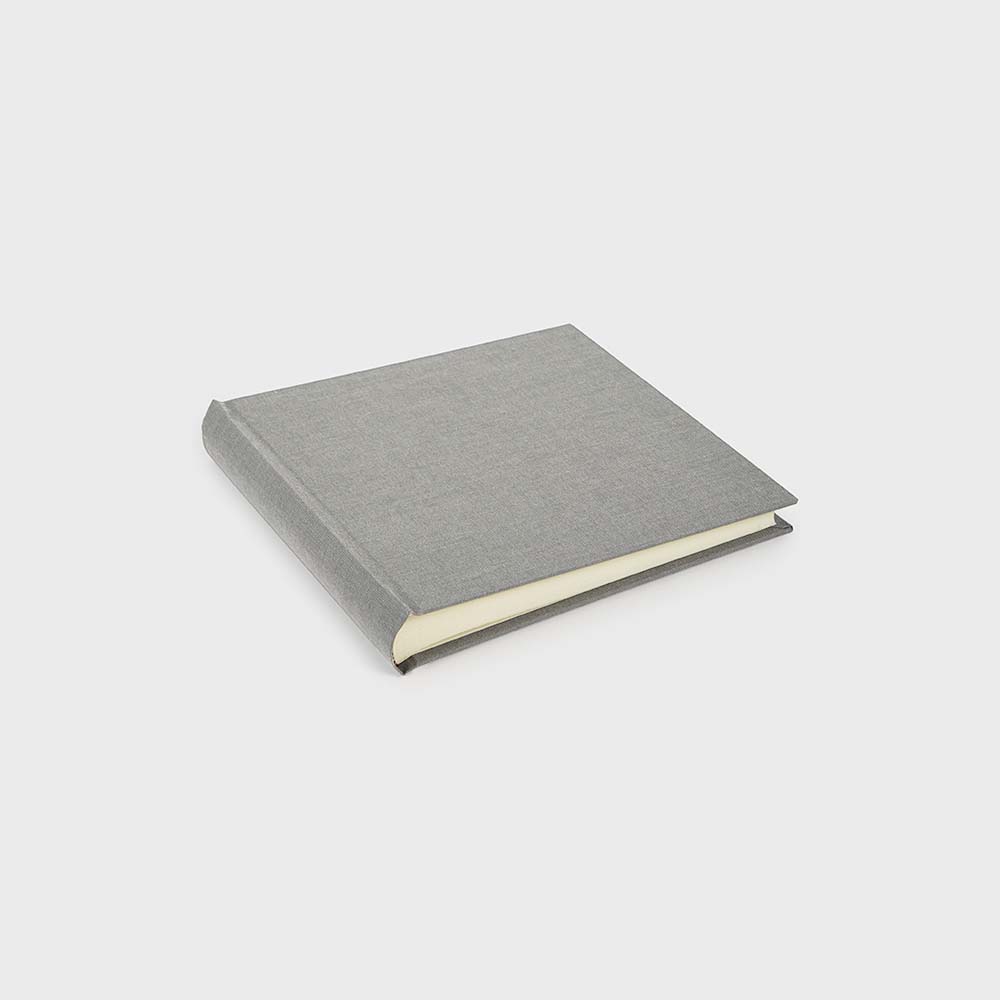
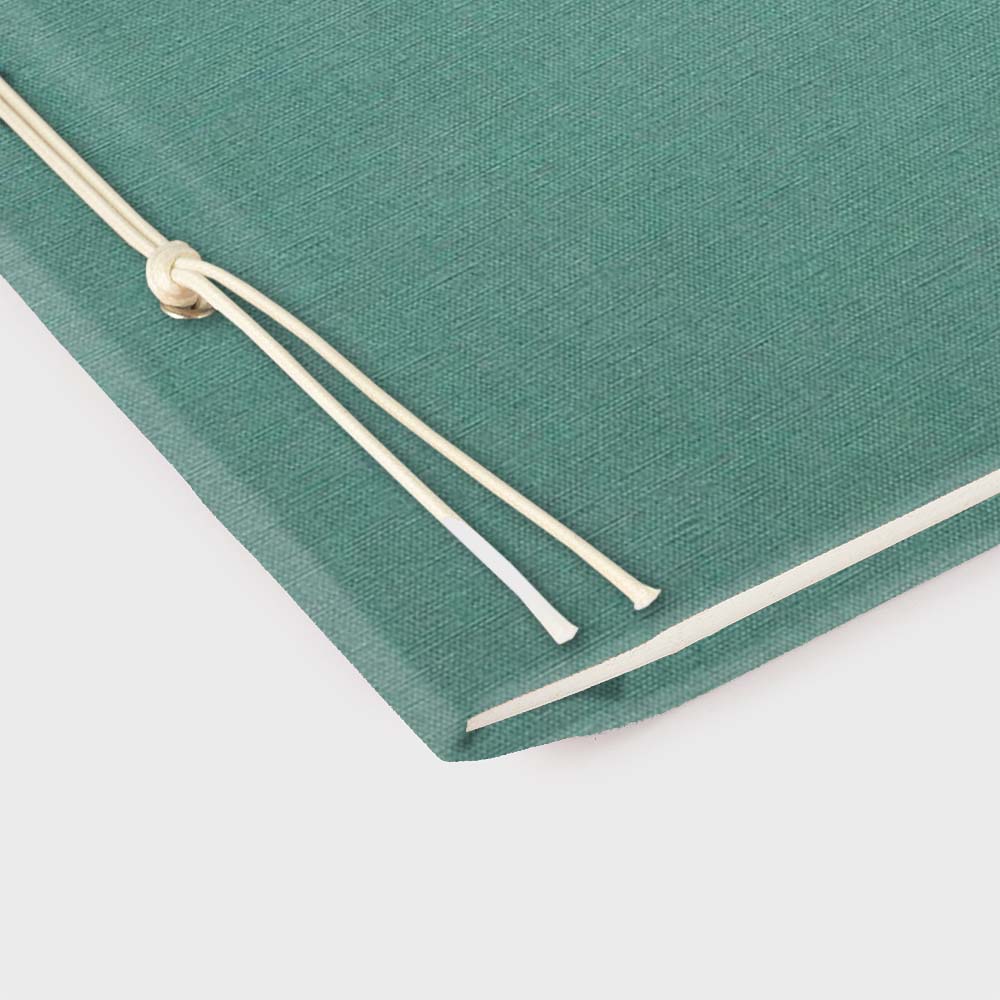
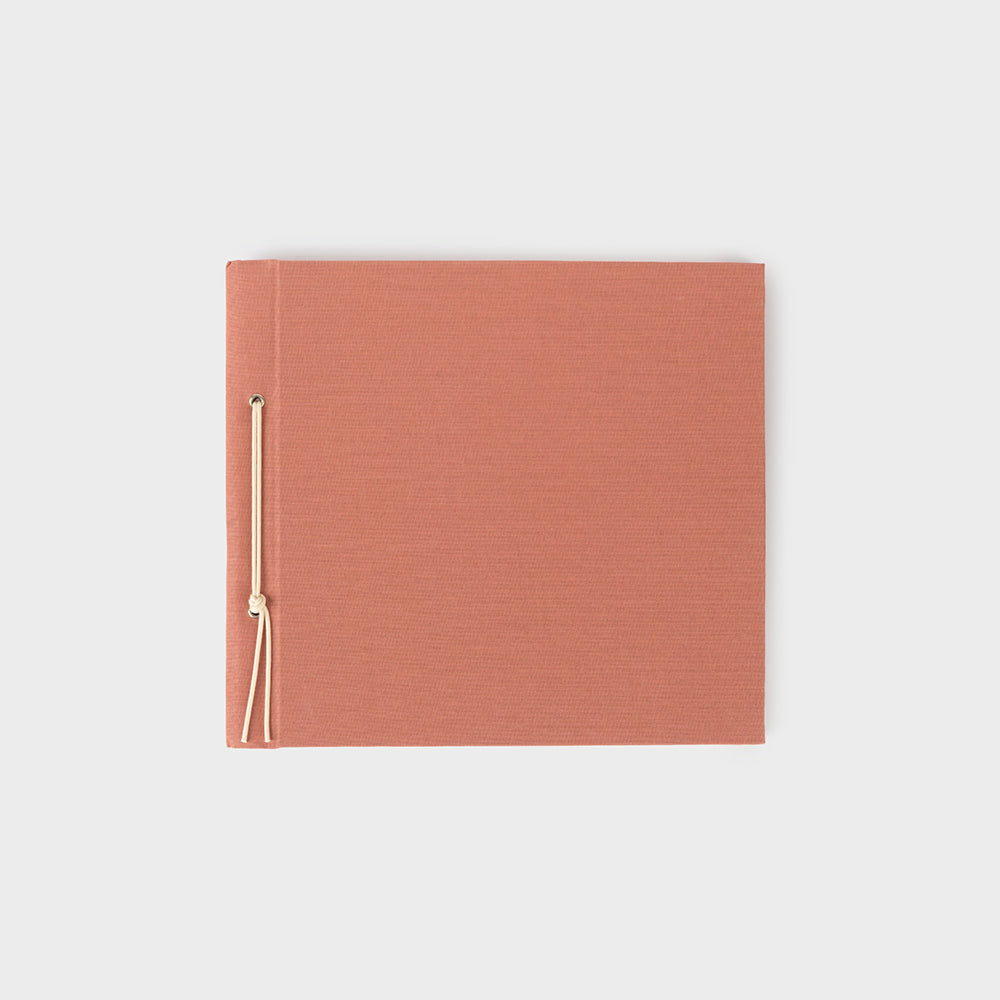
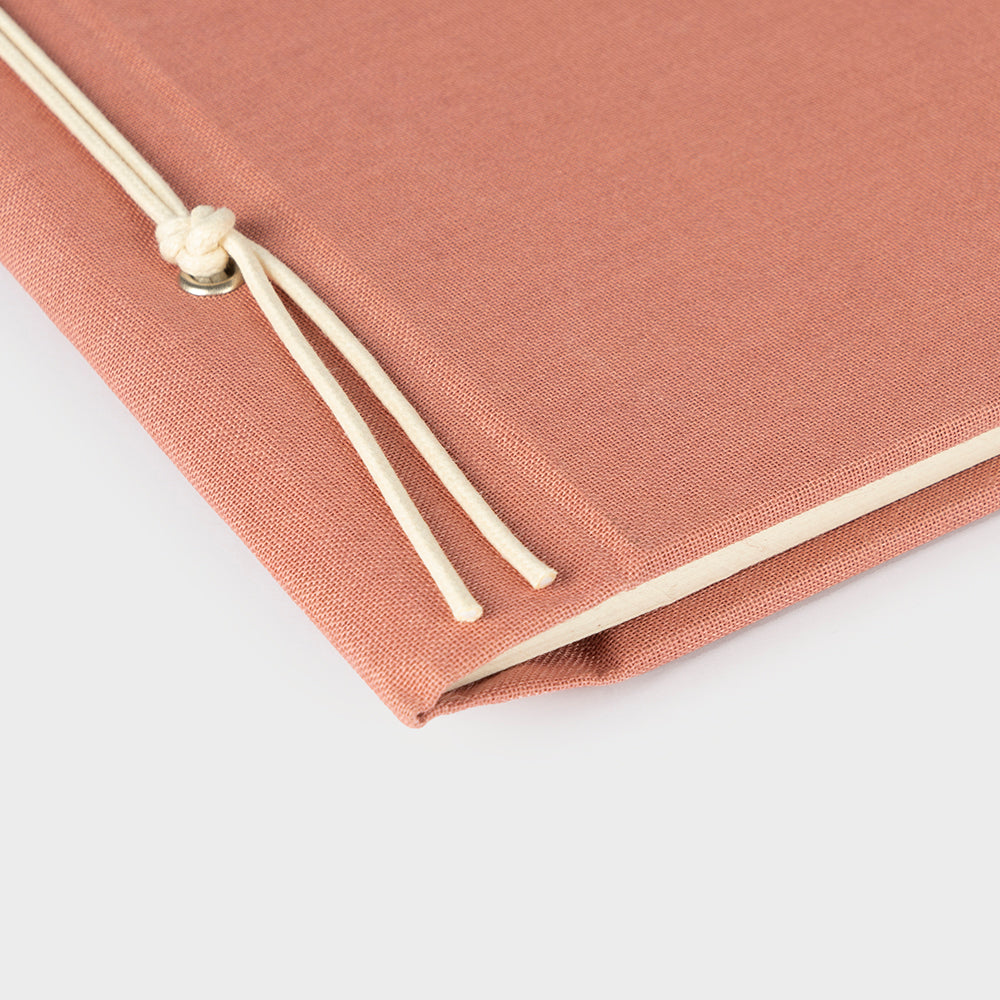
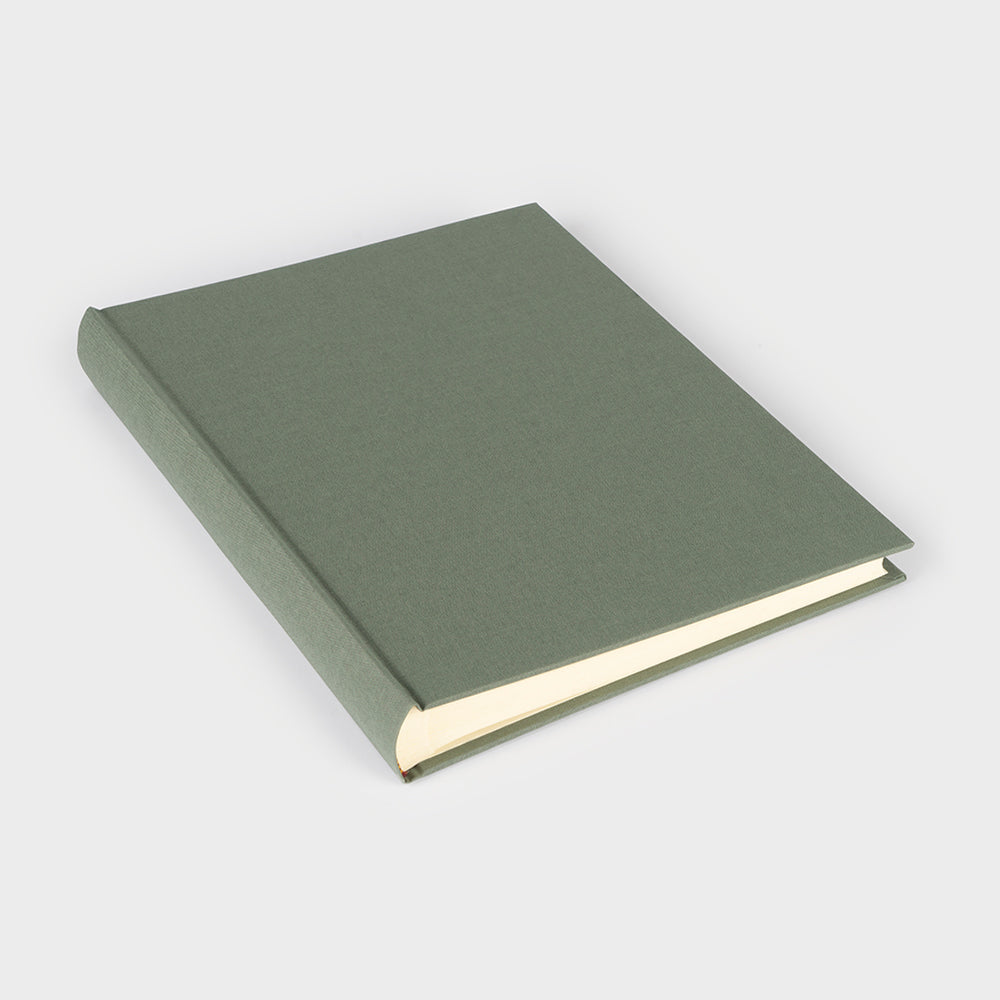
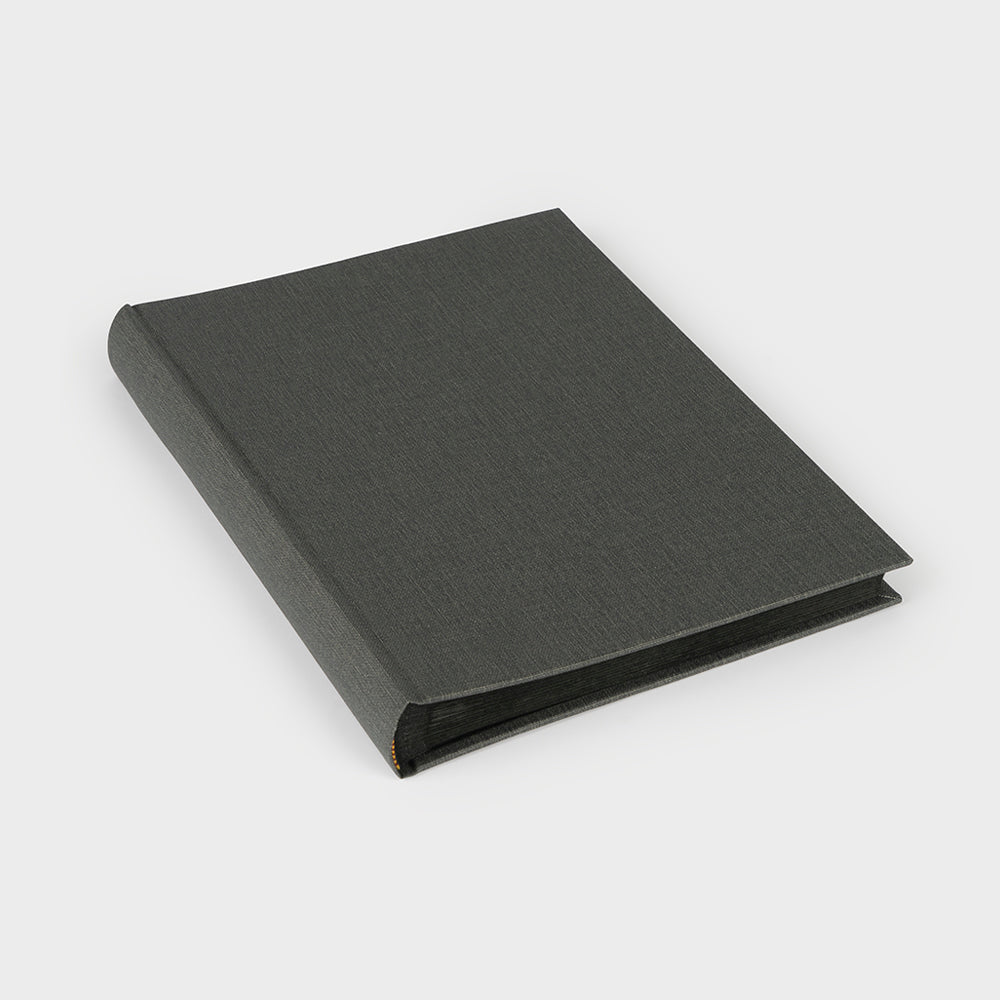
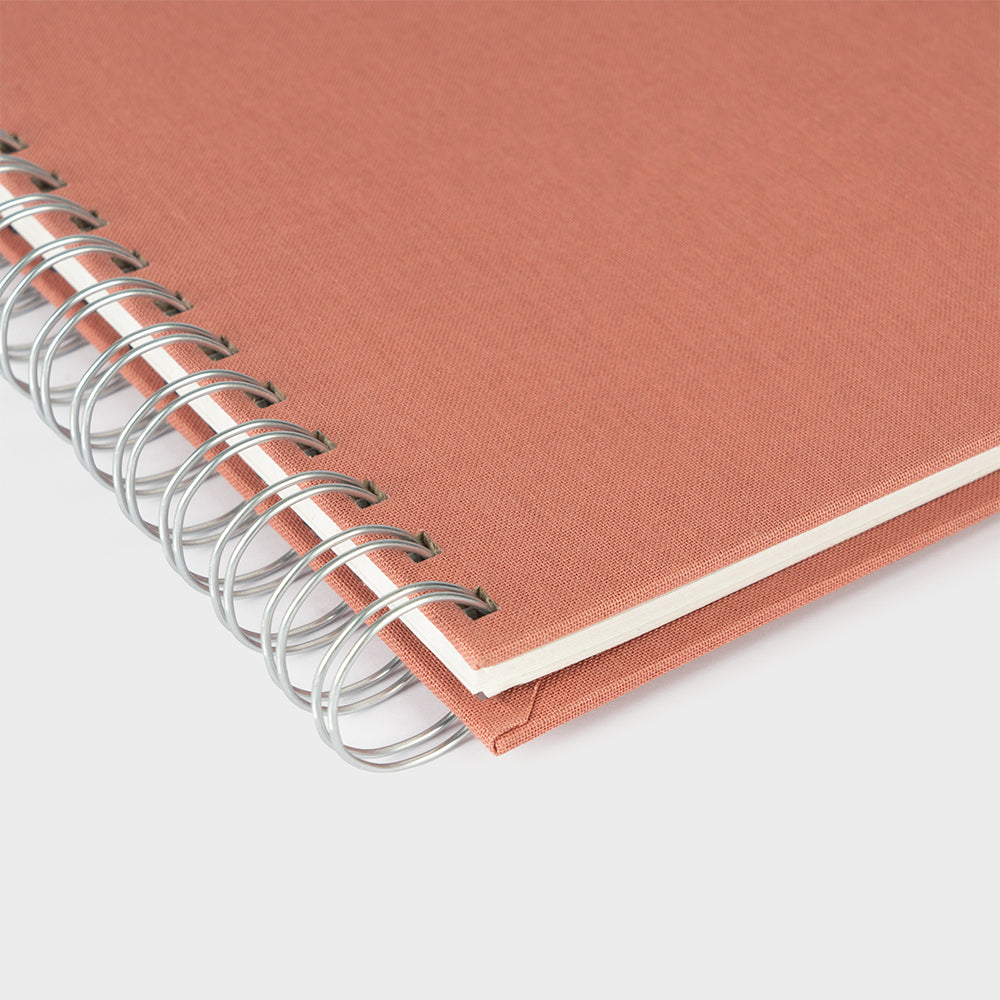
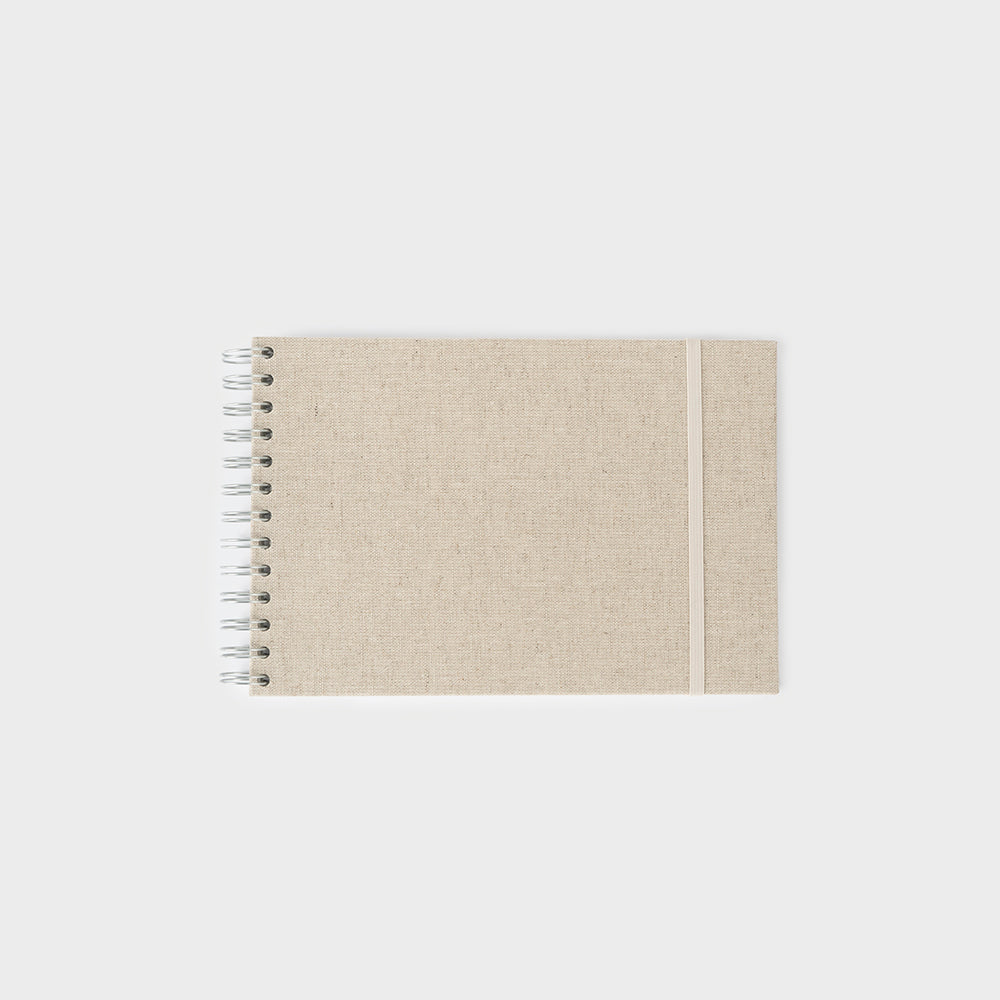
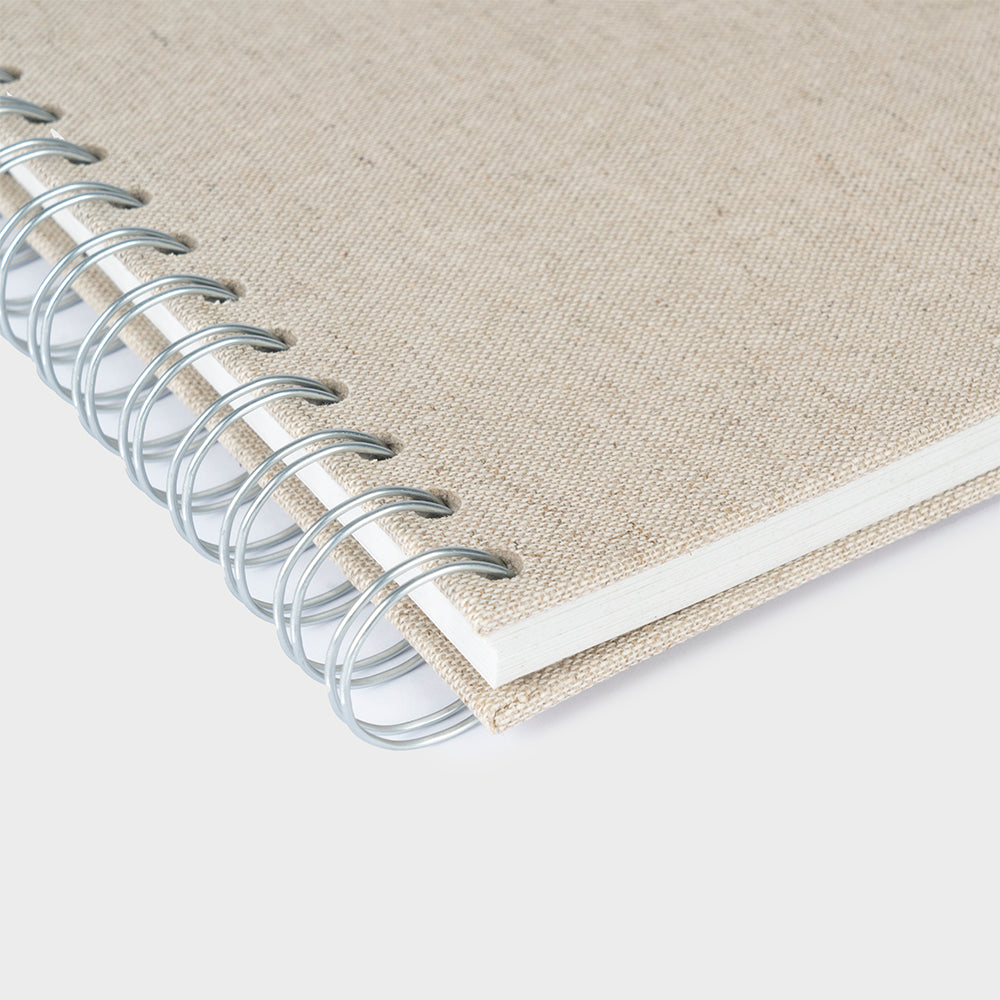
Think about where the album will go, be sure of its place: on a table, on a shelf... There are countless designs. From the classic sewn-bound fabric album to more modern models with a wyro binding and elastic closure. Large, medium, and small... Let's take a look.
The large square photo album is ideal for a special event such as a wedding.
On the other hand, the vertical format is the ideal model for saving photos year after year.
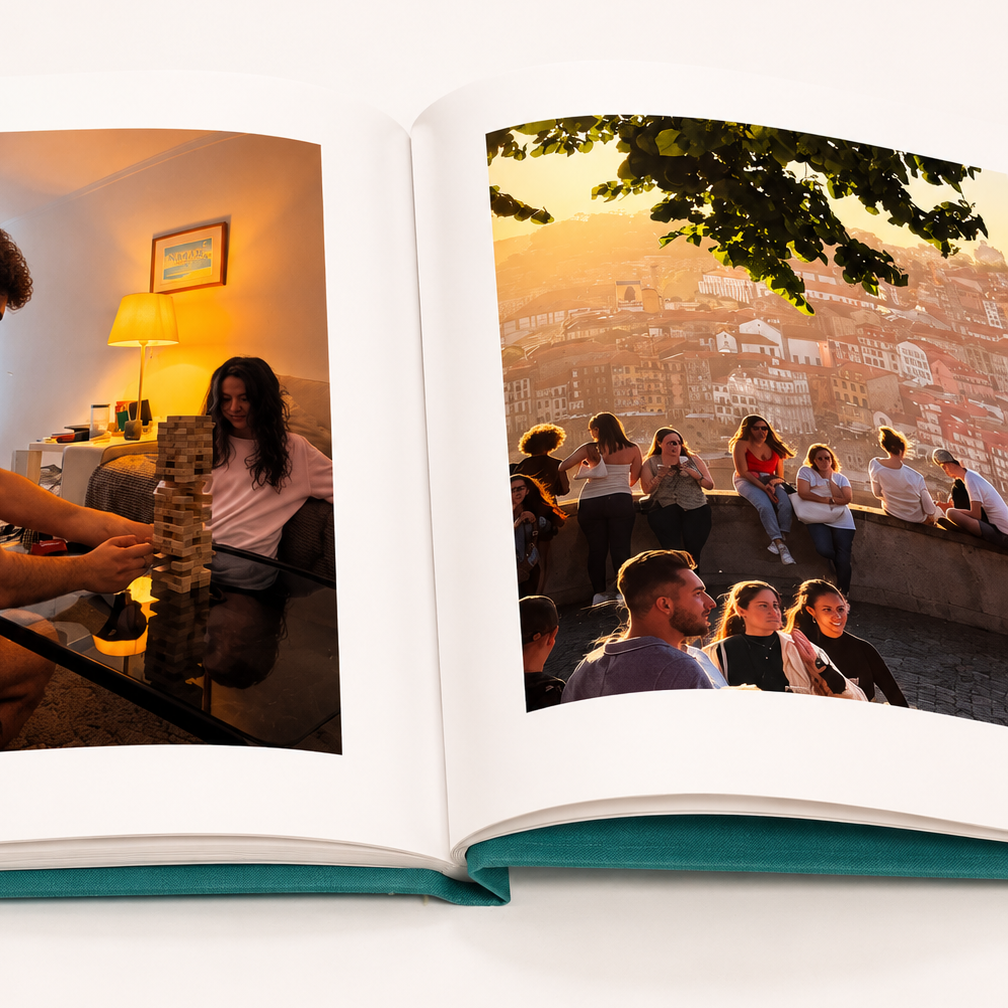
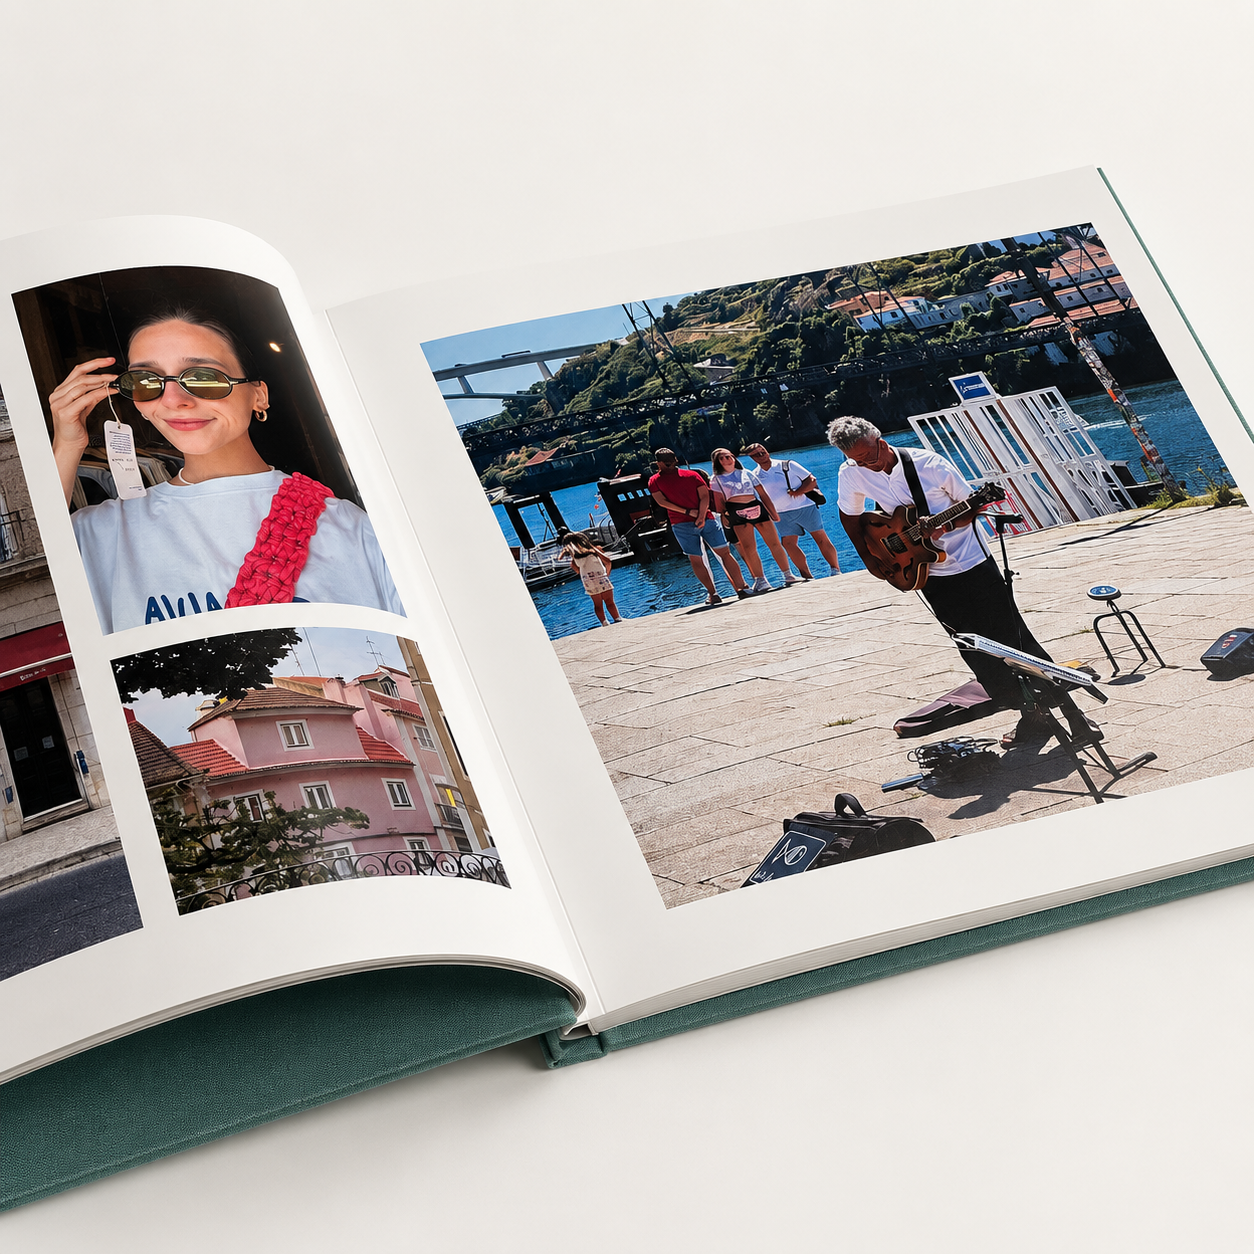
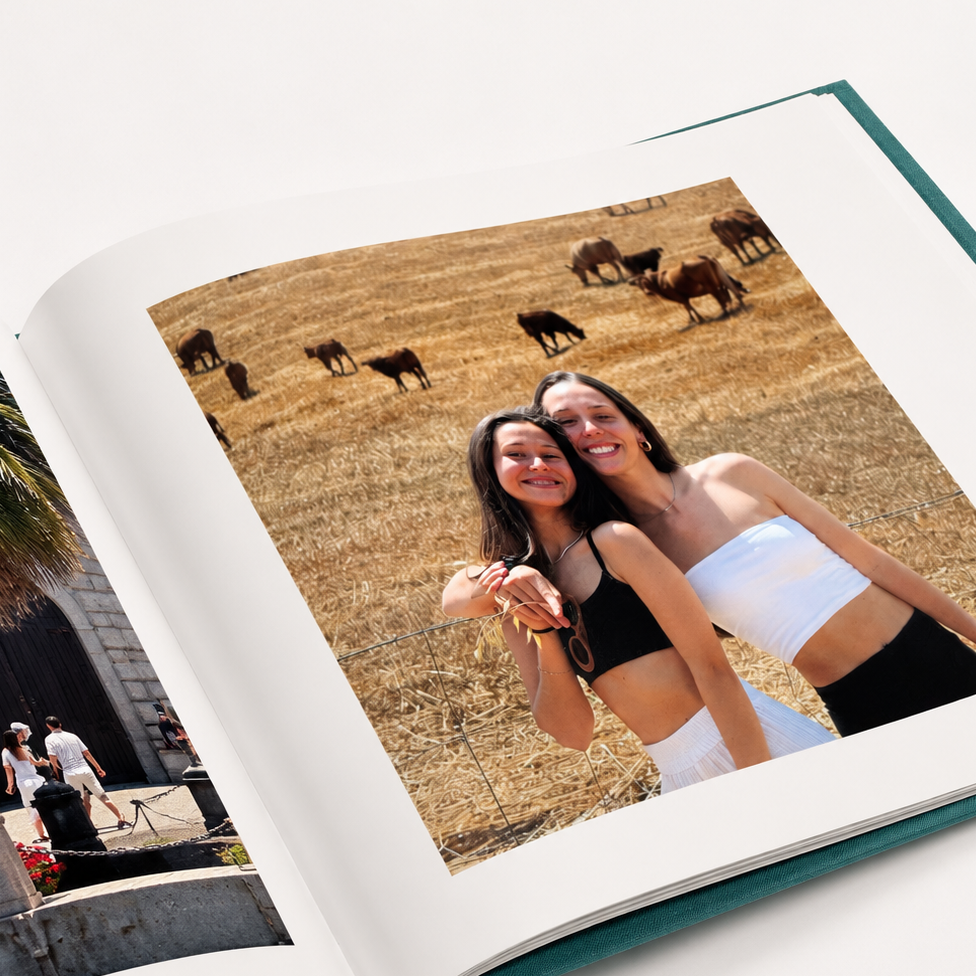
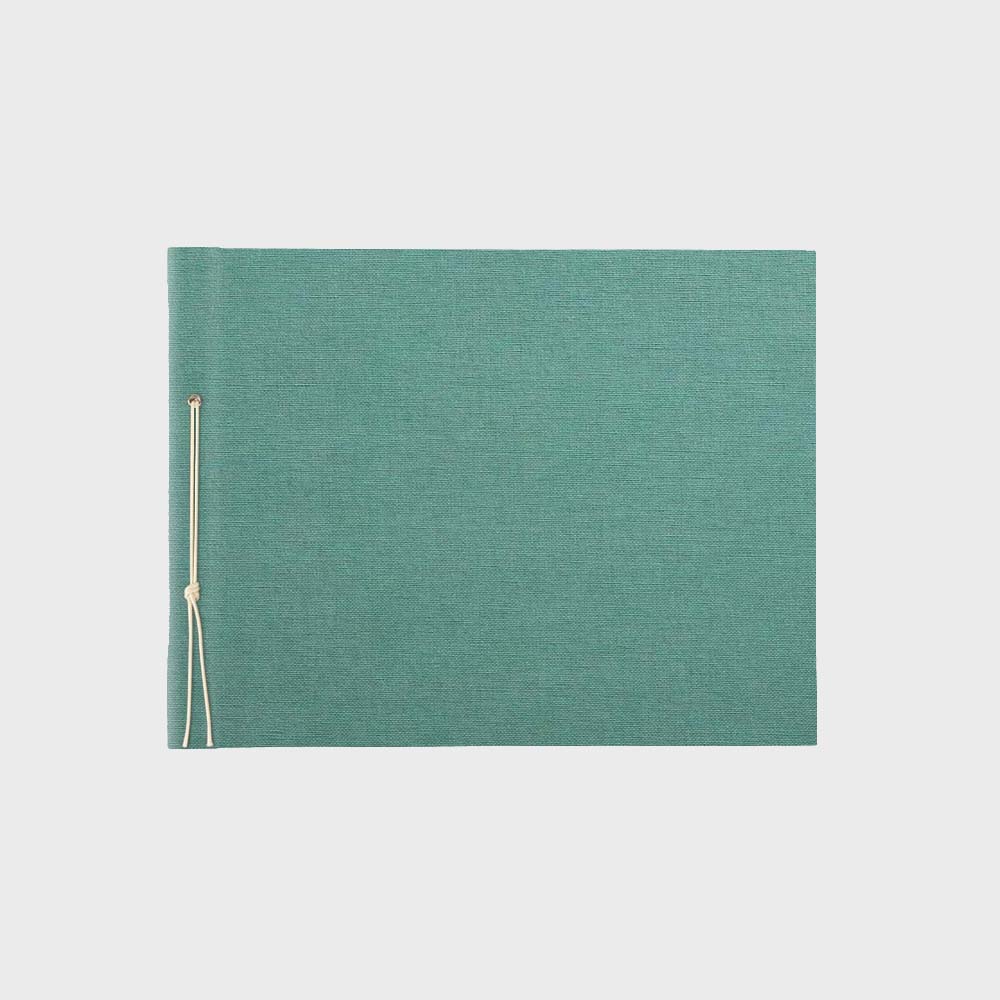
Large landscape formats bound with a ribbon or cord are ideal for storing family photos from your trips, anniversary parties like 40th, 50th, 60th, etc. They are modern formats that will bring your photos to life.
The smaller sizes are available in sewn, zip-bound, and corded formats . They're great for a getaway, a christening, or even a perfect size to store anywhere. They're even easy to carry around and show off.
#2 Once we have the format, it's time to choose the color of the album
Do you want it to match your home? A special color to match what it will hold? Or maybe you're someone who wants a different color to liven up your shelving?
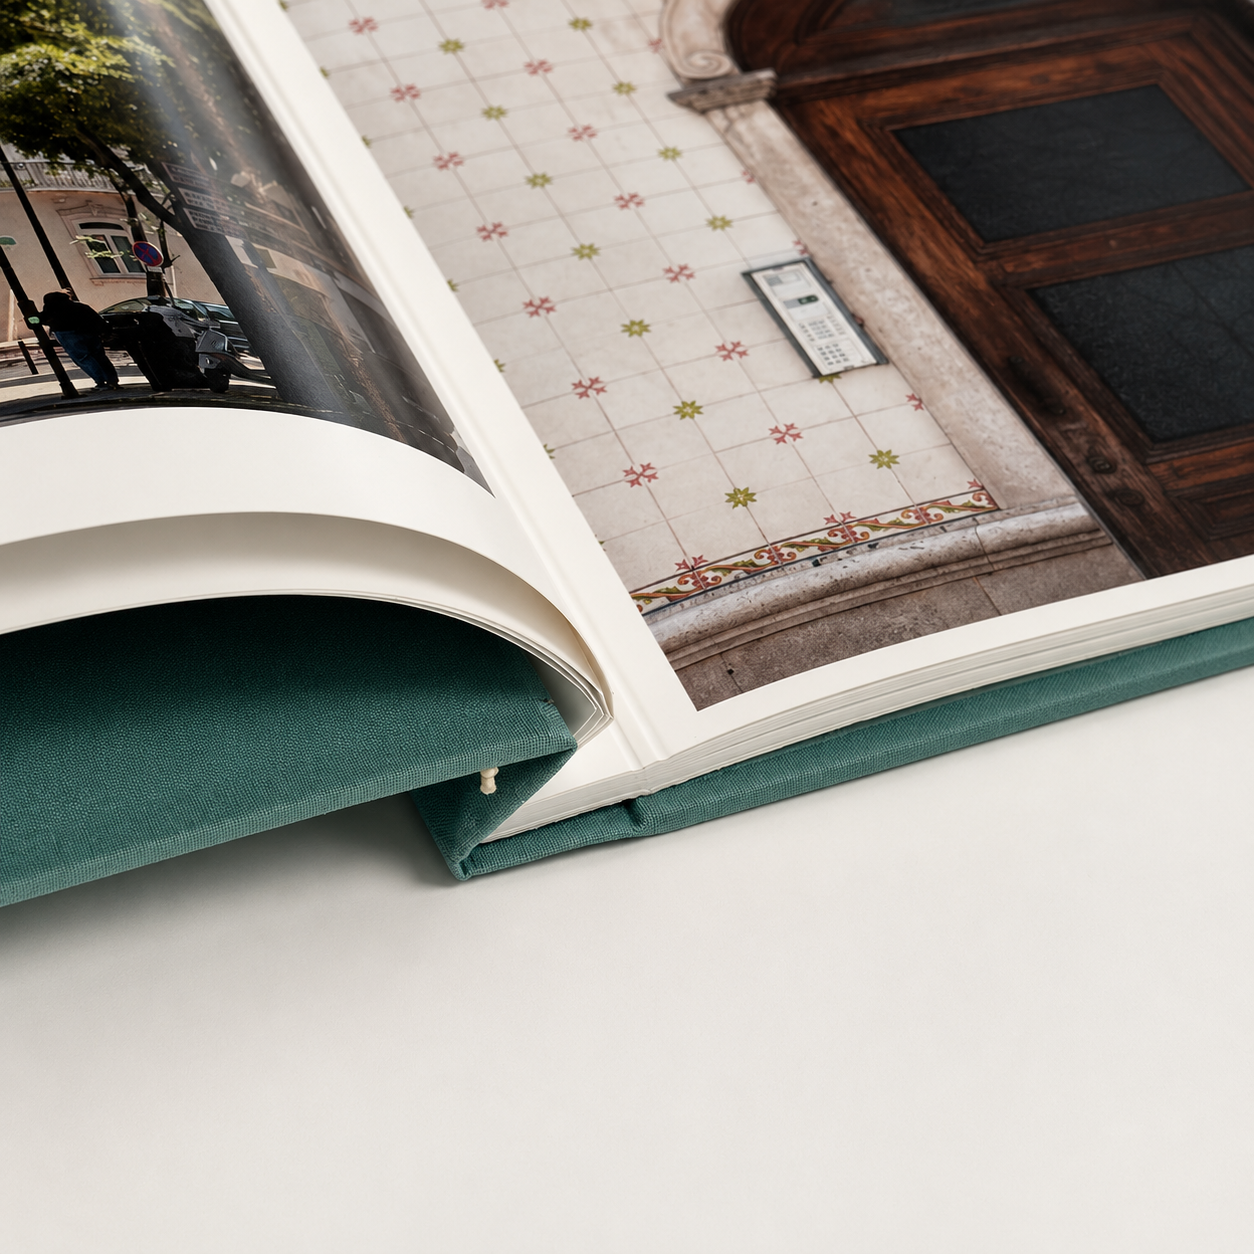
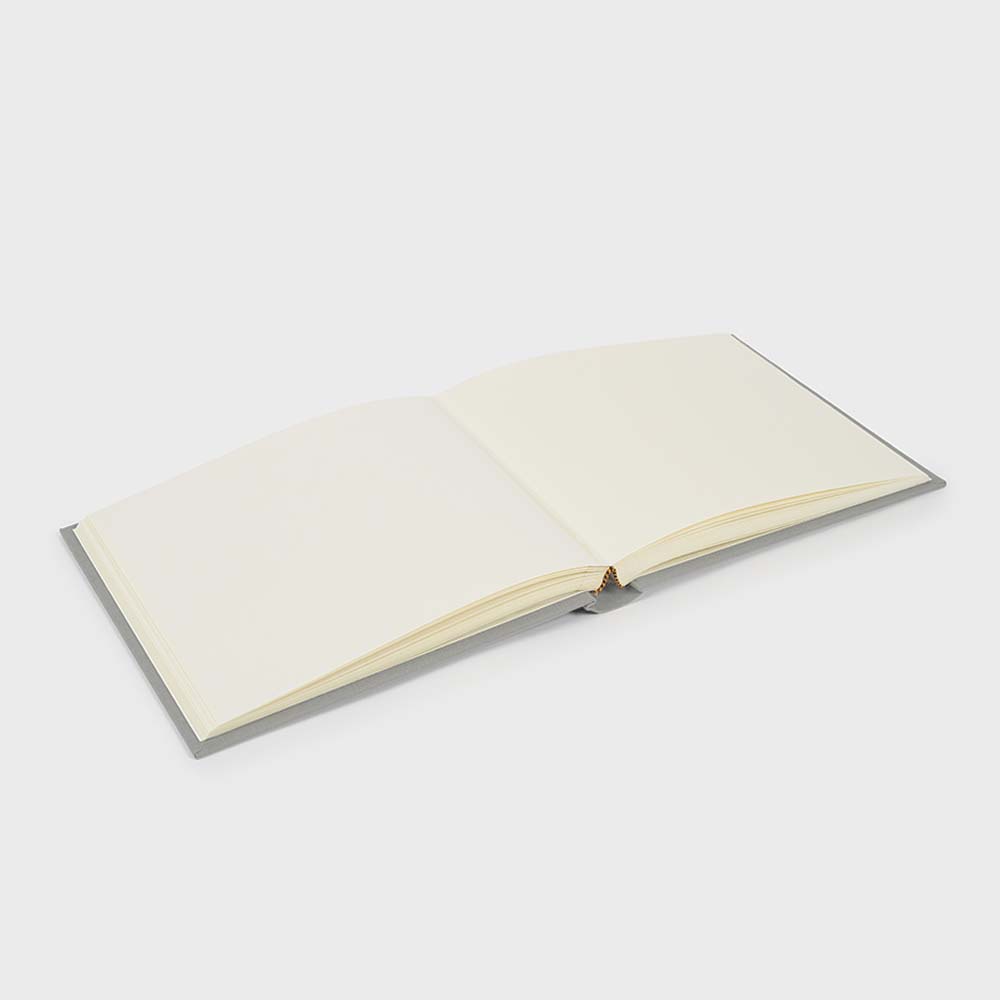
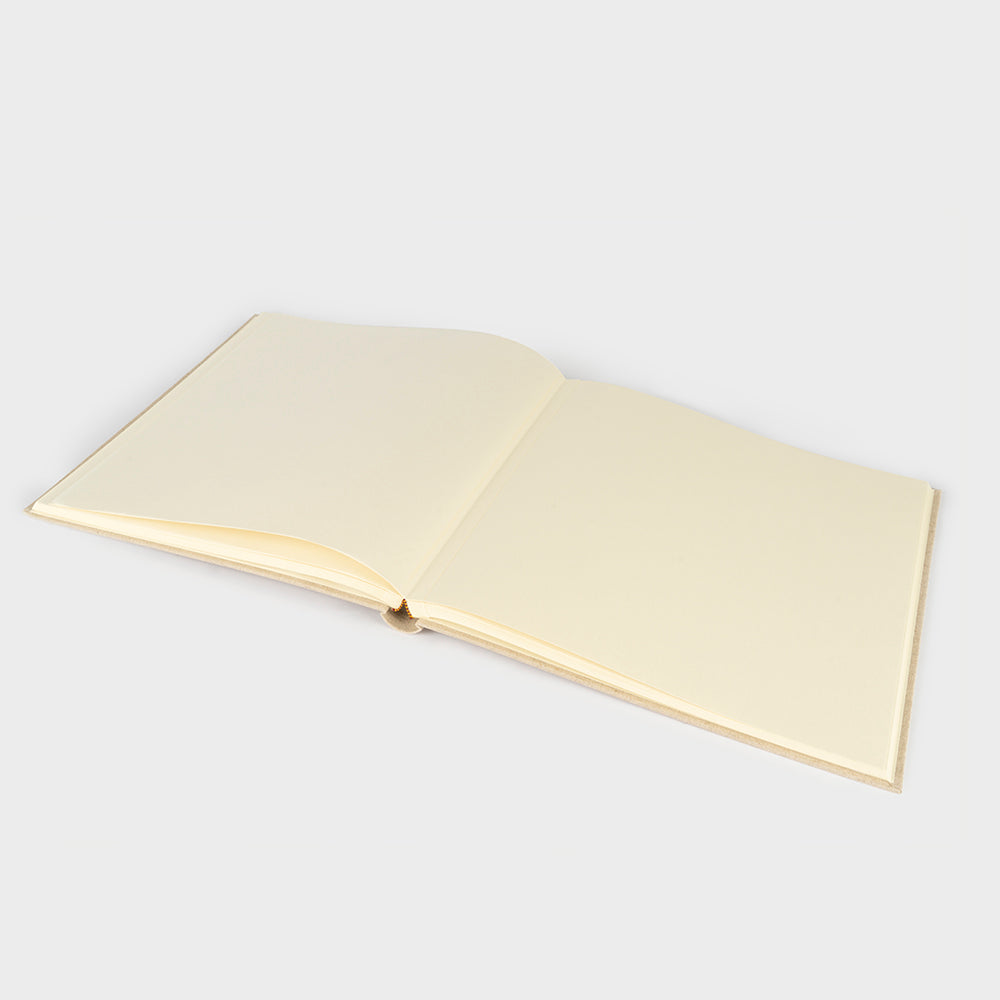
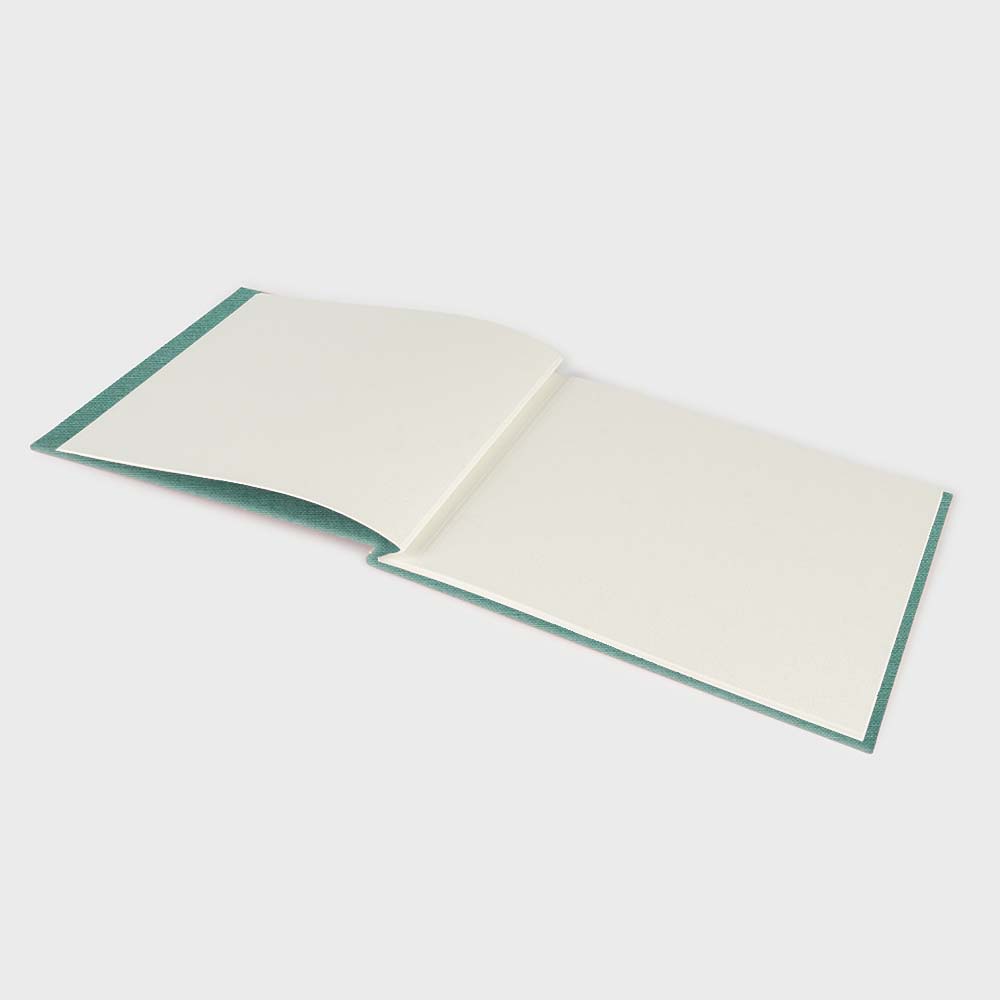
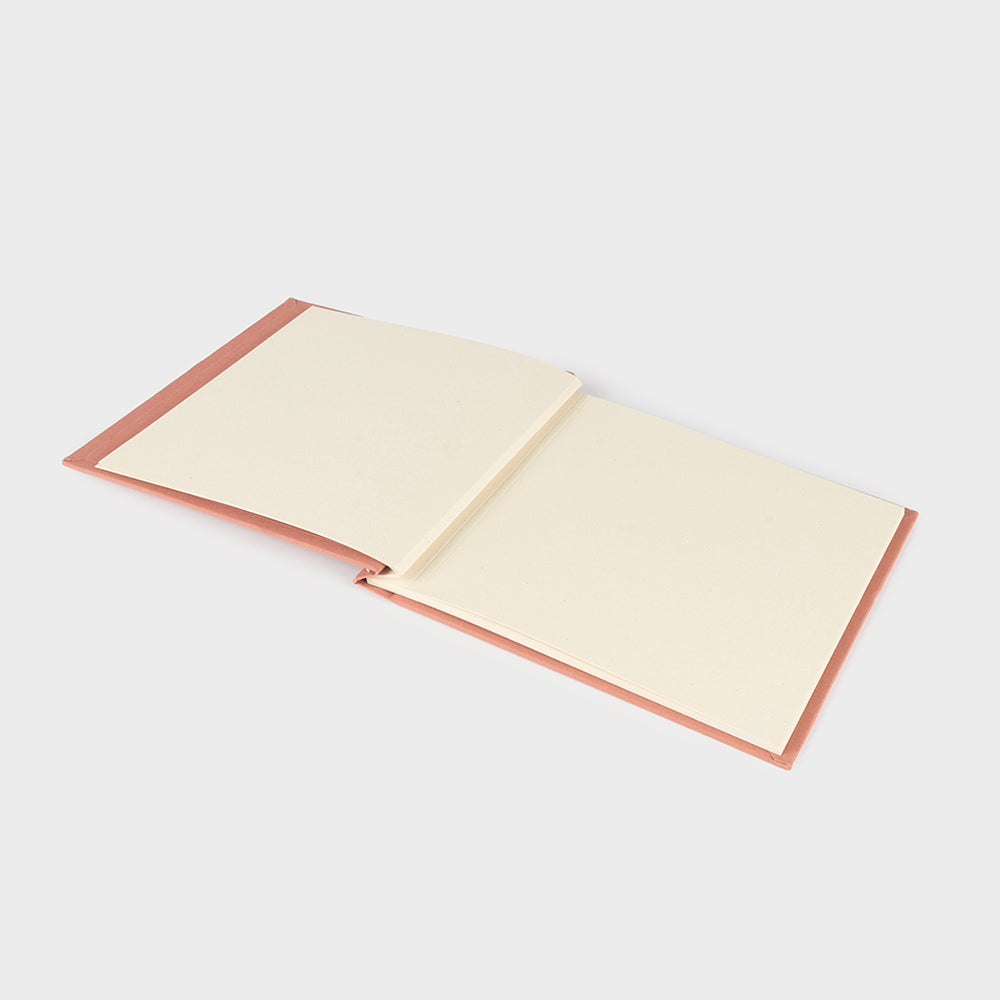
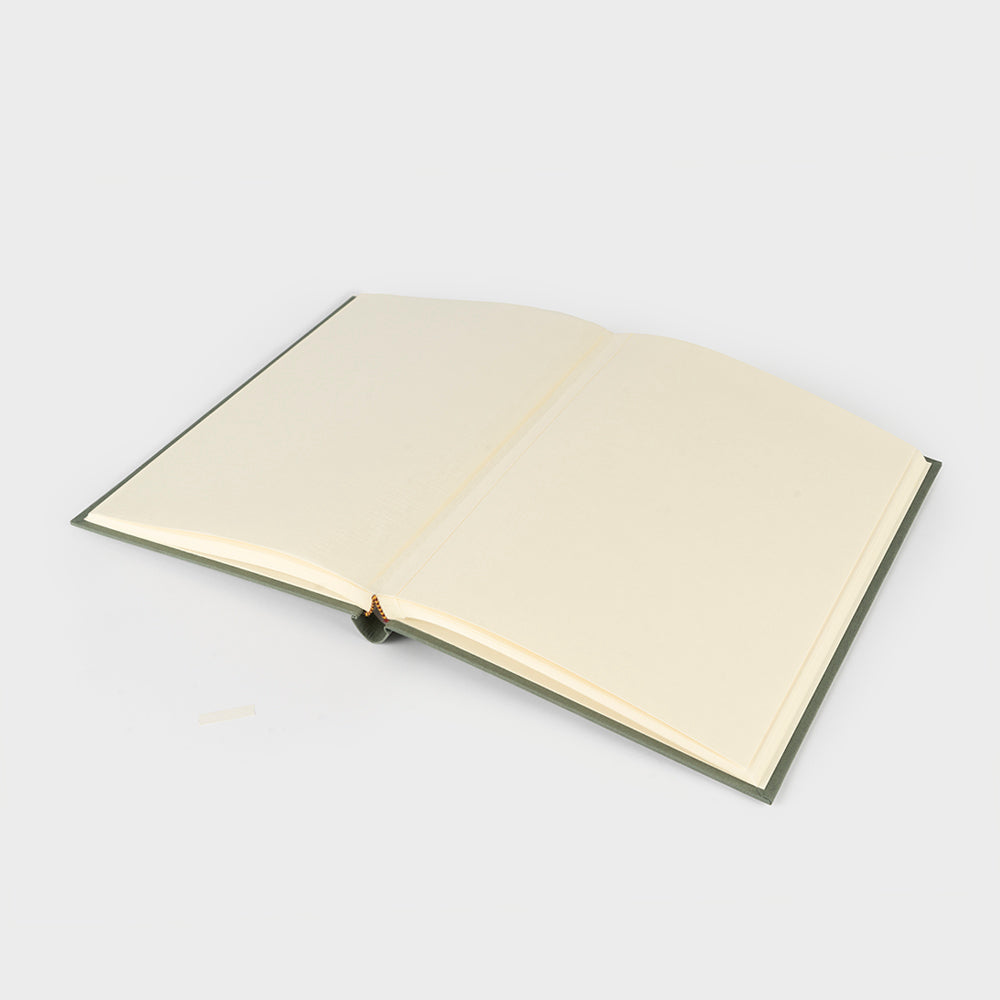
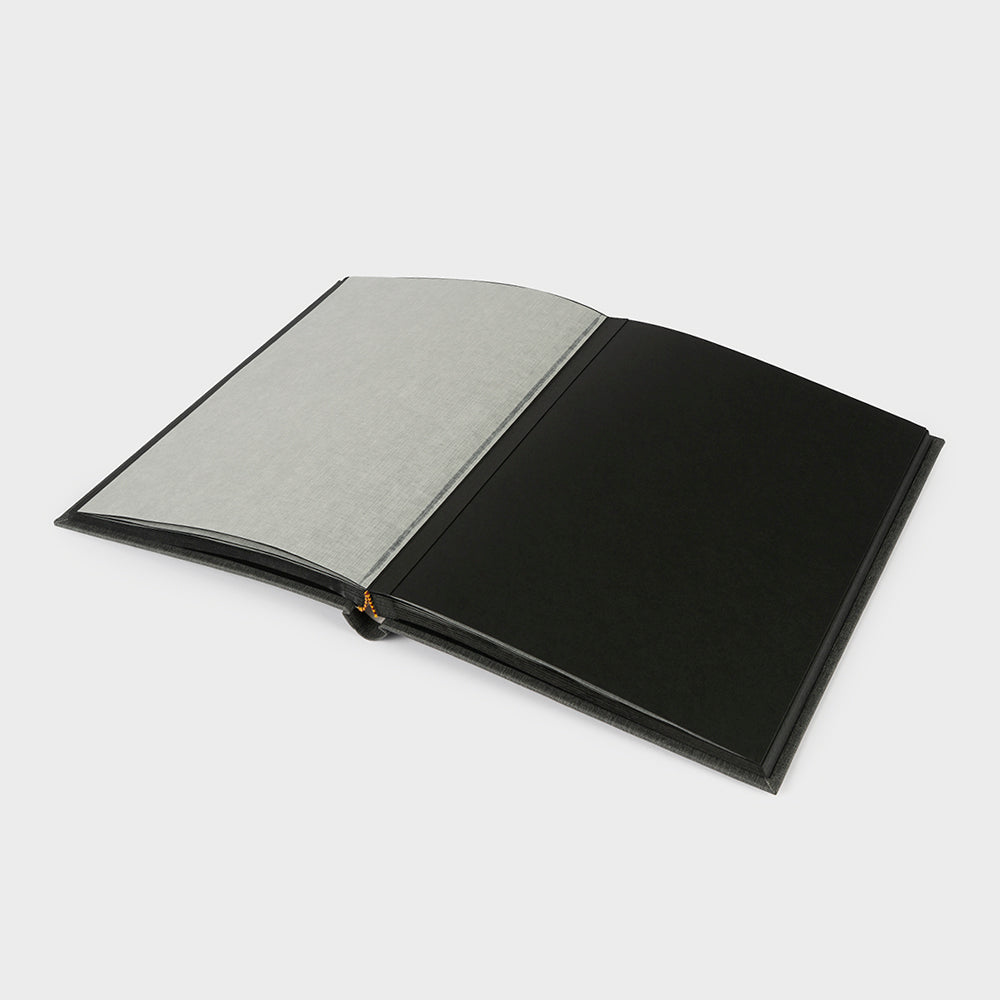
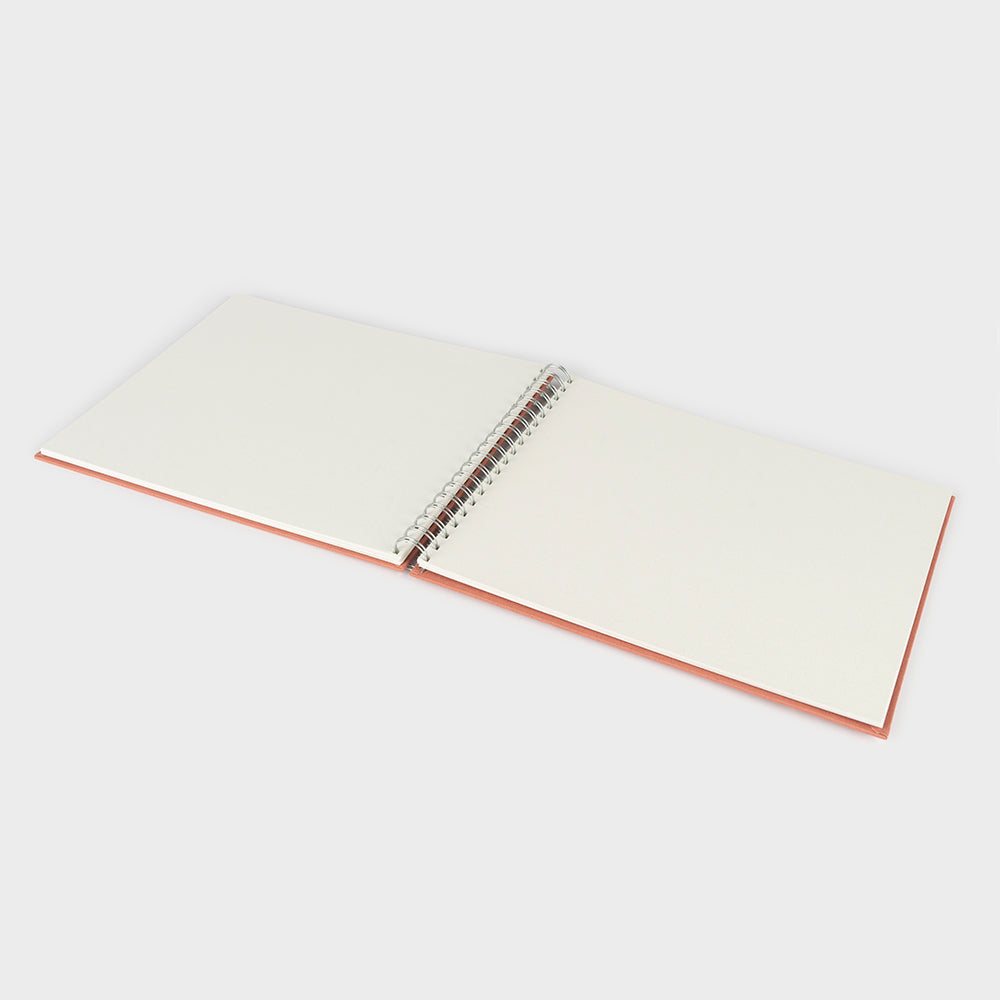
Not all colors have the same interior colors. We primarily offer two interior colors: black cardstock or ivory cardstock . Keep this in mind if the interior is important to you!
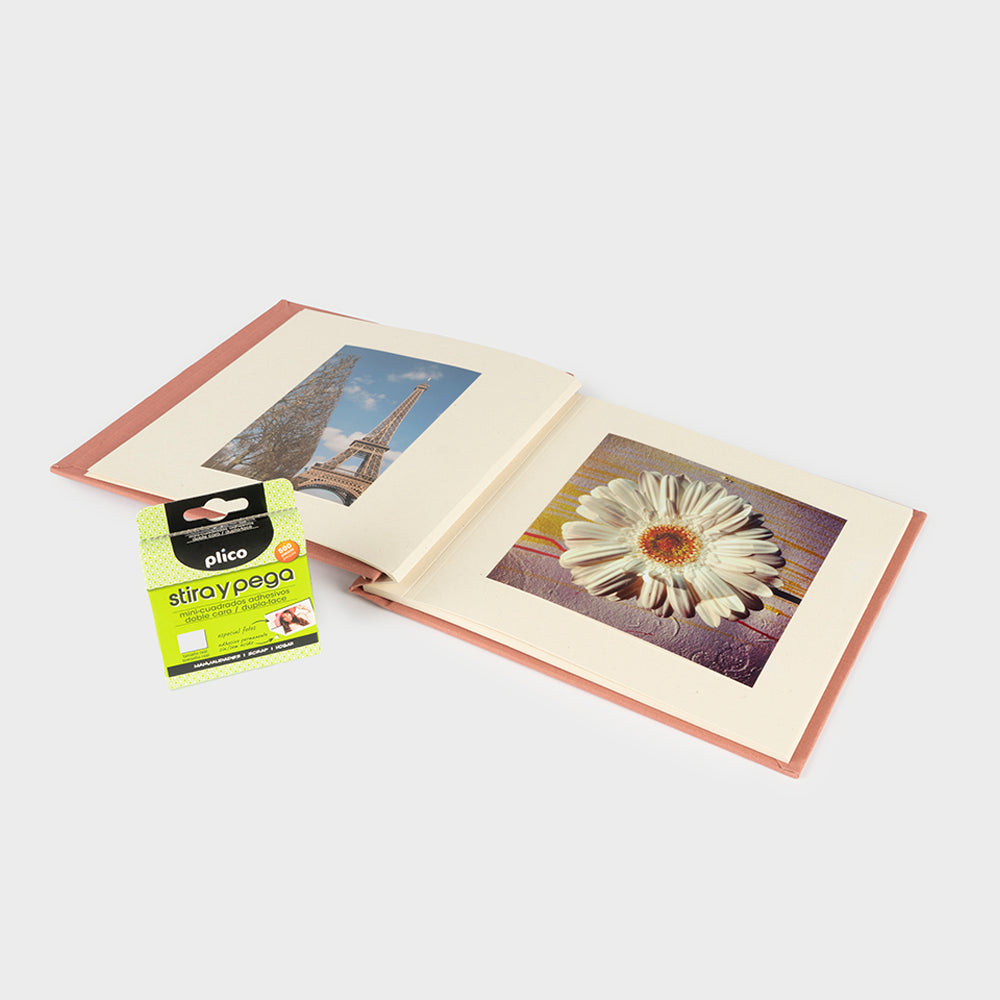
#3 Select the photos you will put in your traditional photo albums
With your photo gallery in front of you, select and print your photos with a single click. Lalalab, Cheerz, or Fotoprix are some of the apps and websites that make it super easy. You'll receive them at home in just a few days.
#4 Materials that will make it easier for you to make the perfect album
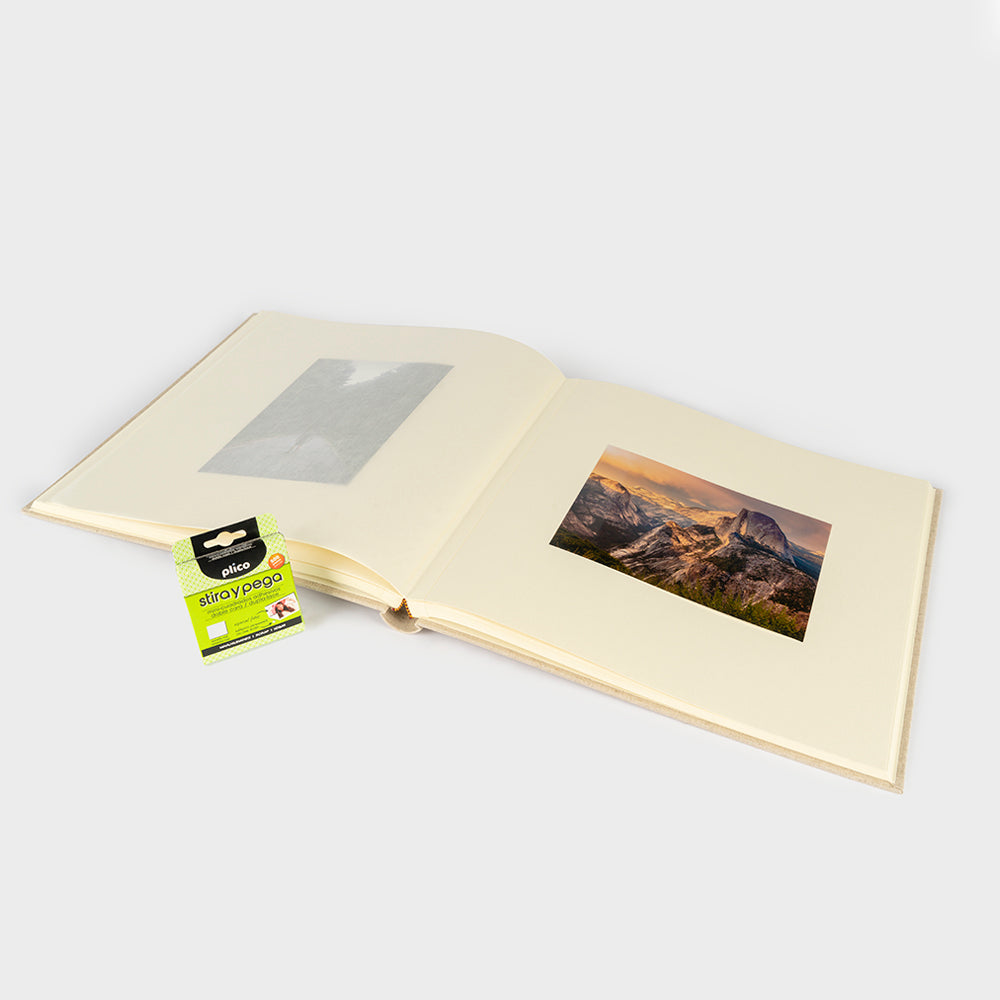
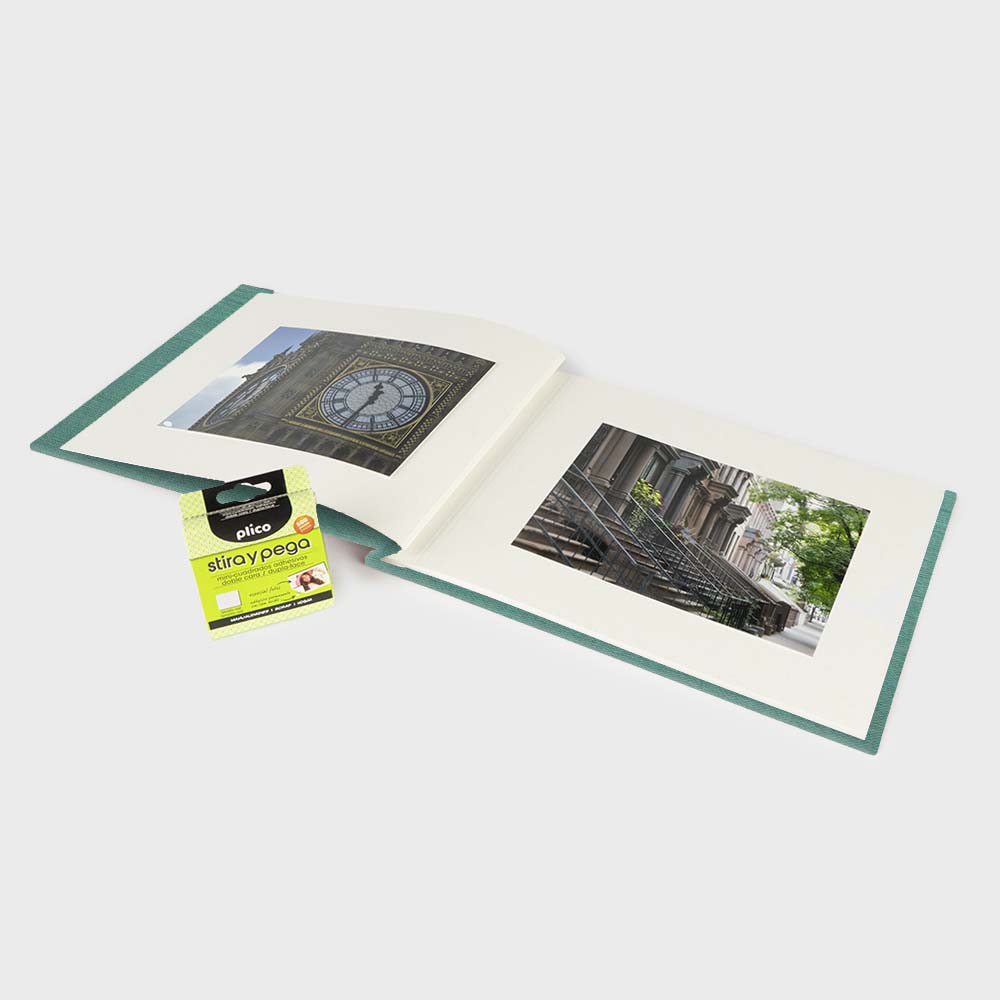
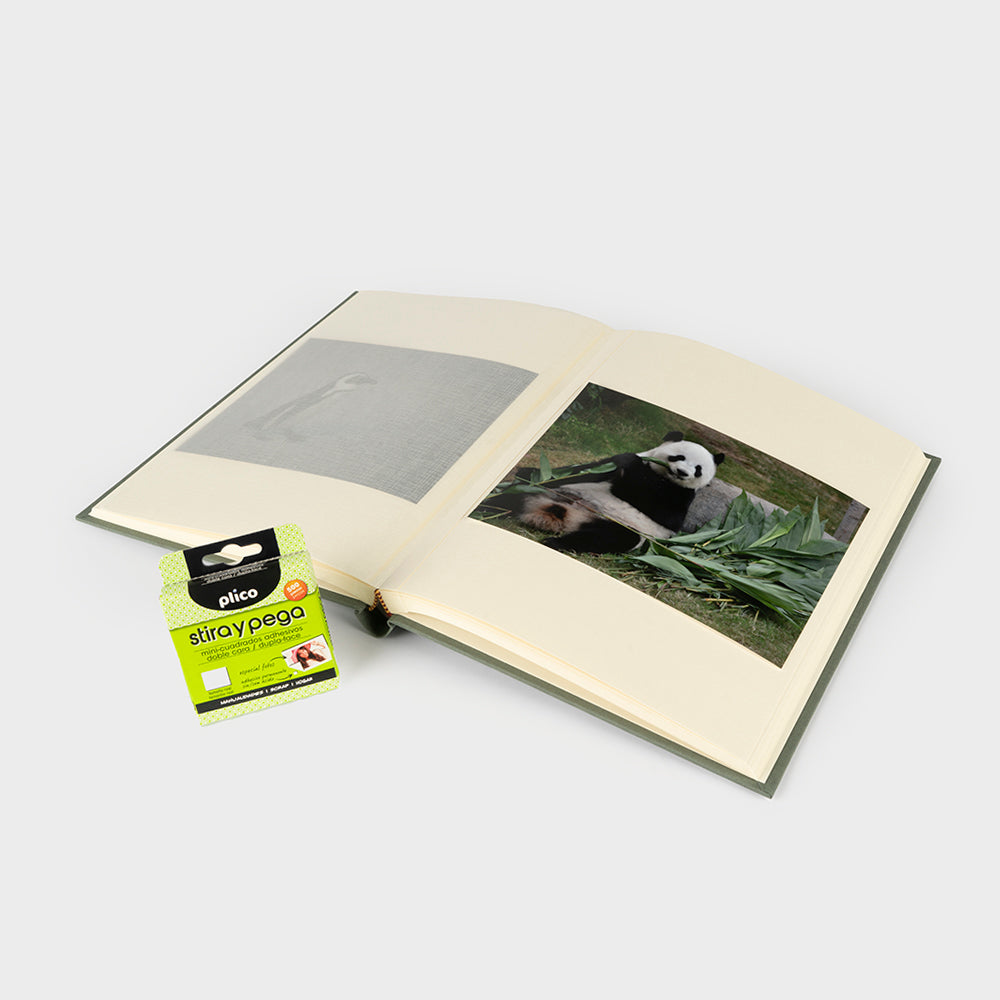
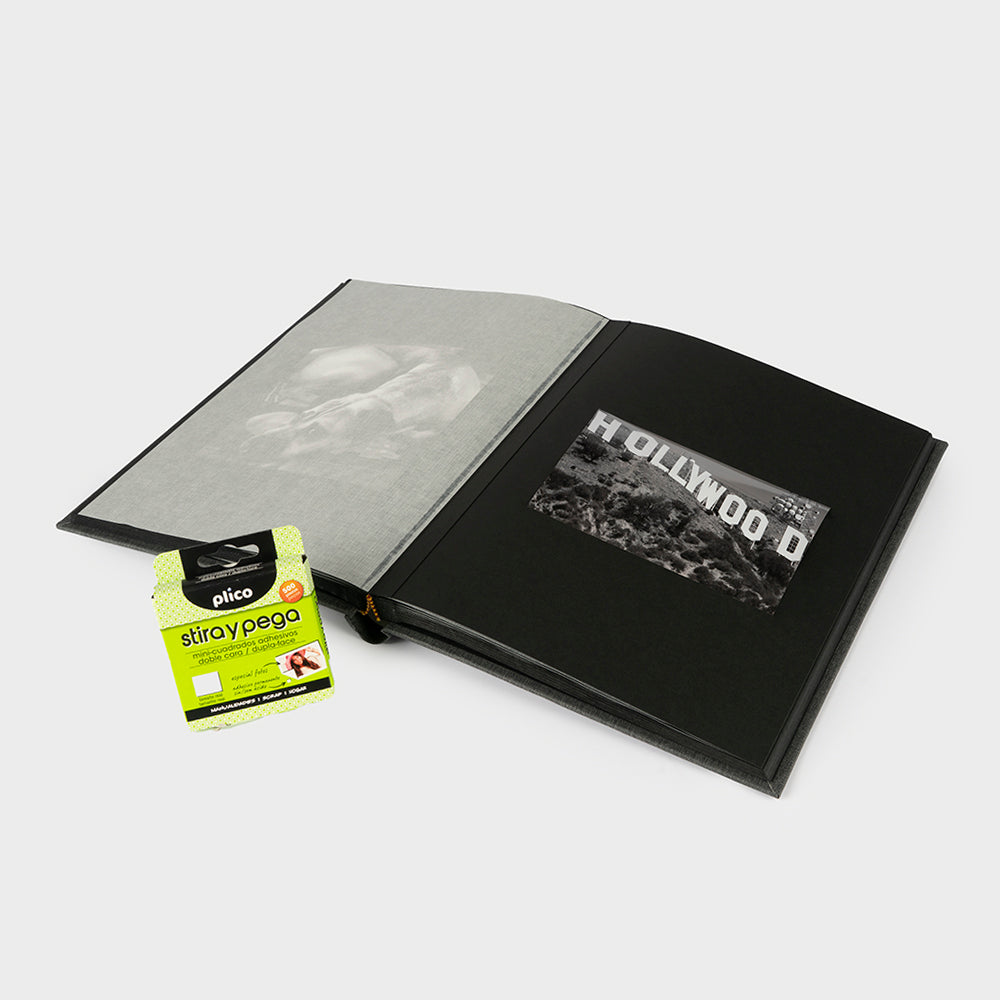
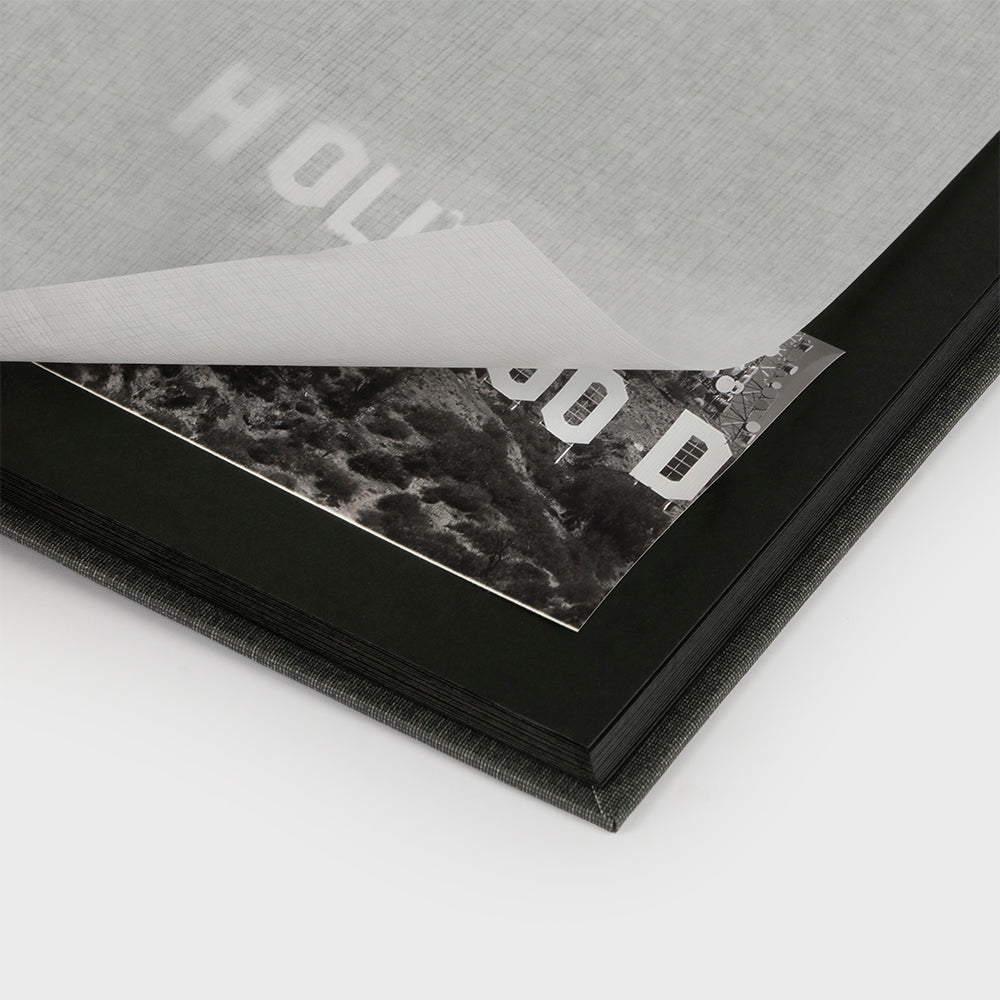
In addition to the album, you'll need accessories like sticky notes or colored pens to write down dates, places, and details.
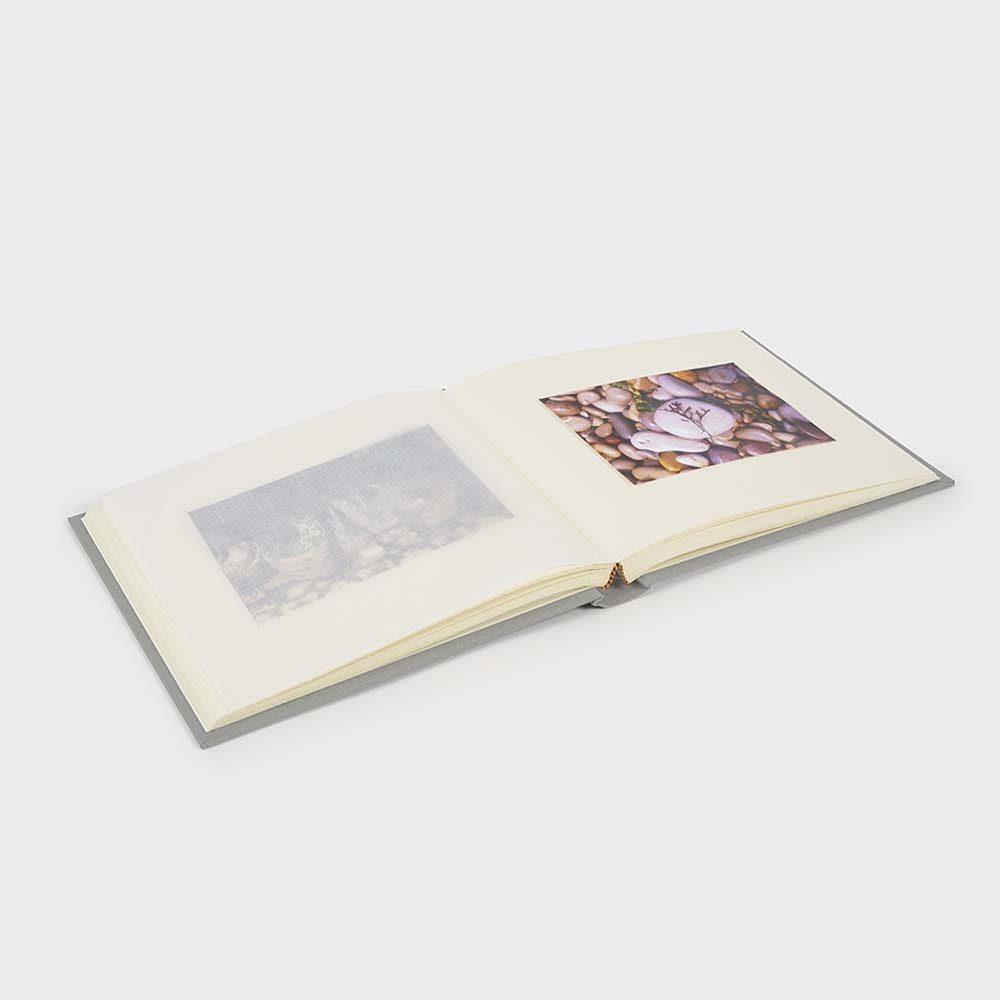
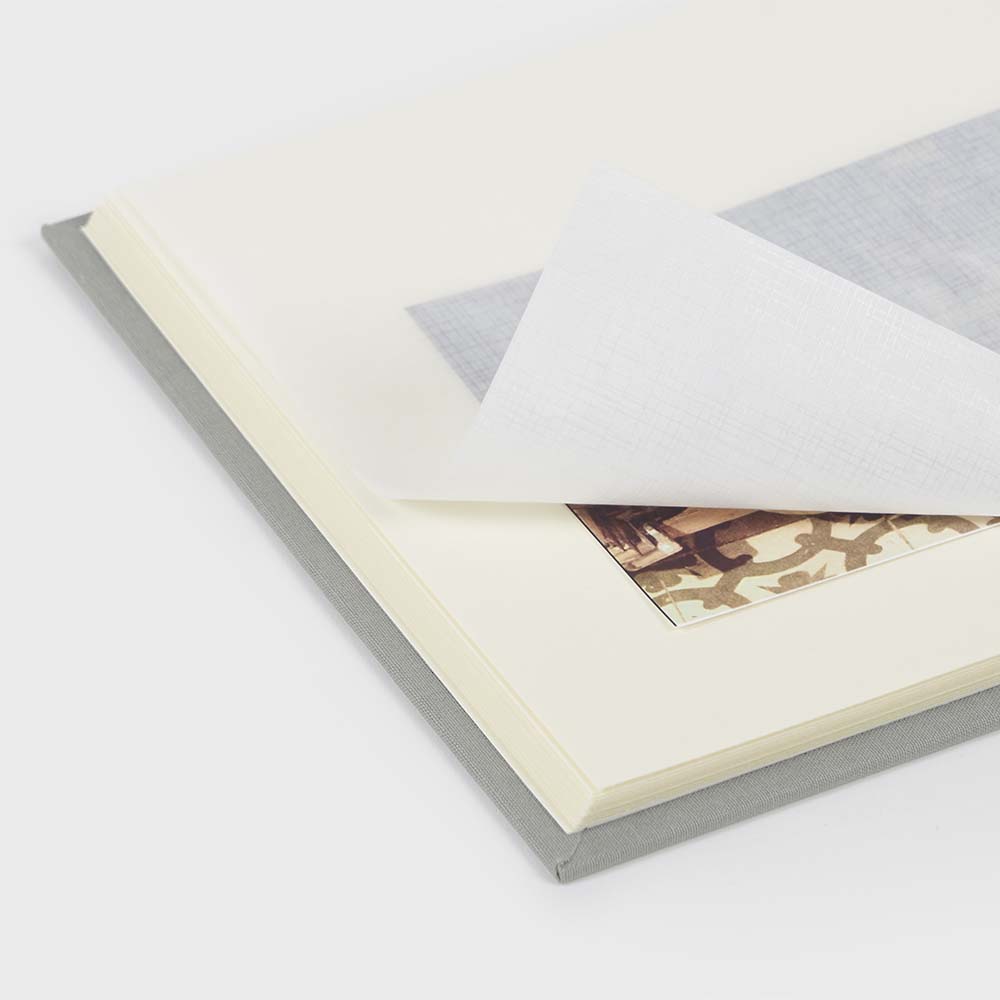
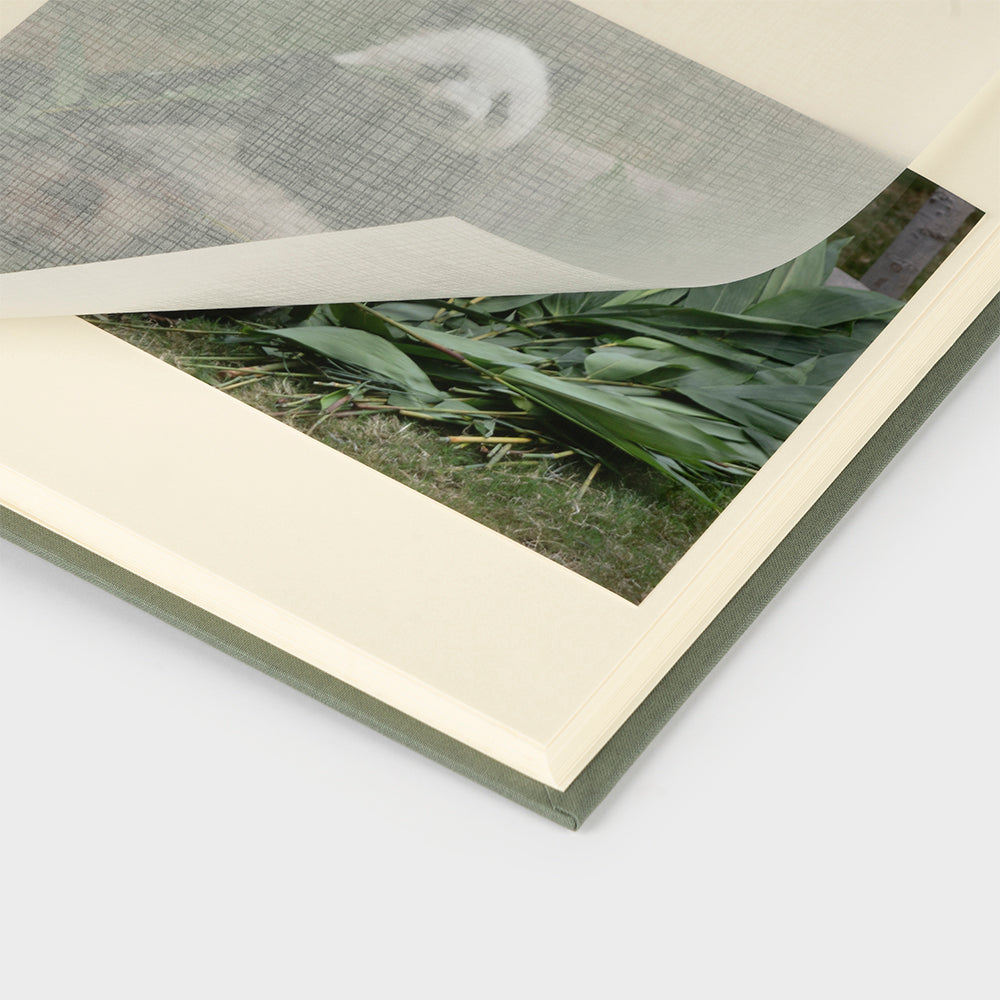
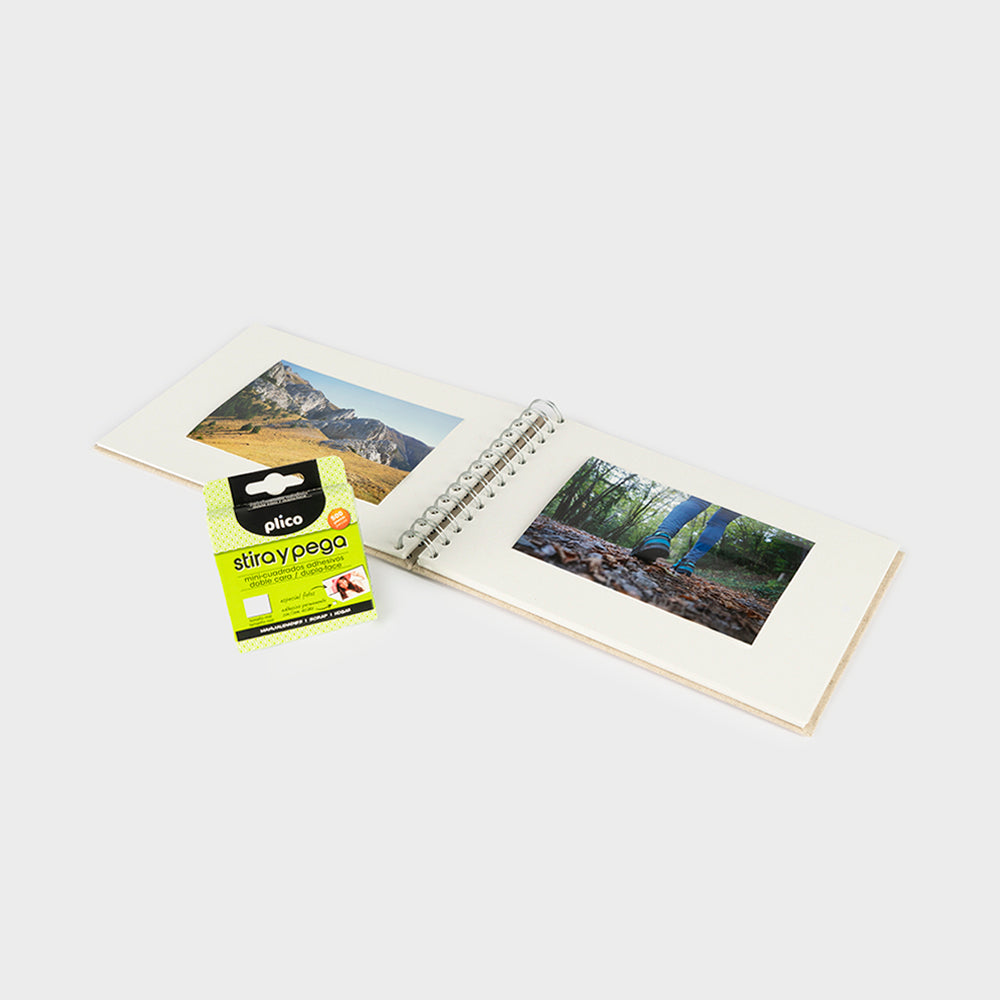
The adhesive squares make life so much easier when sticking photos in the album. They're double-sided and super easy to apply. They perfectly secure the photo to the cardstock.
Having a rollerball pen or ballpoint pen handy while gluing the photos is essential.
Choose black for the ivory cardstock and white, silver, or gold for the black cardstock. Your ally when making your album.
Jotting down the names of the places you visit, the dates, or the names of the people in the photo may seem silly at the time, but I assure you... in a few years, you'll be thankful!
Ideas for choosing and making your own traditional photo albums
We are going to give several examples of how to choose the album and how to do it, according to different cases.
Small cord album: souvenir of a trip to Colombia
In this first case, I'm going to choose the small red cord album . I'm going to include photos from a trip to Colombia, and red is perfect for storing photos from a trip to a colorful country.
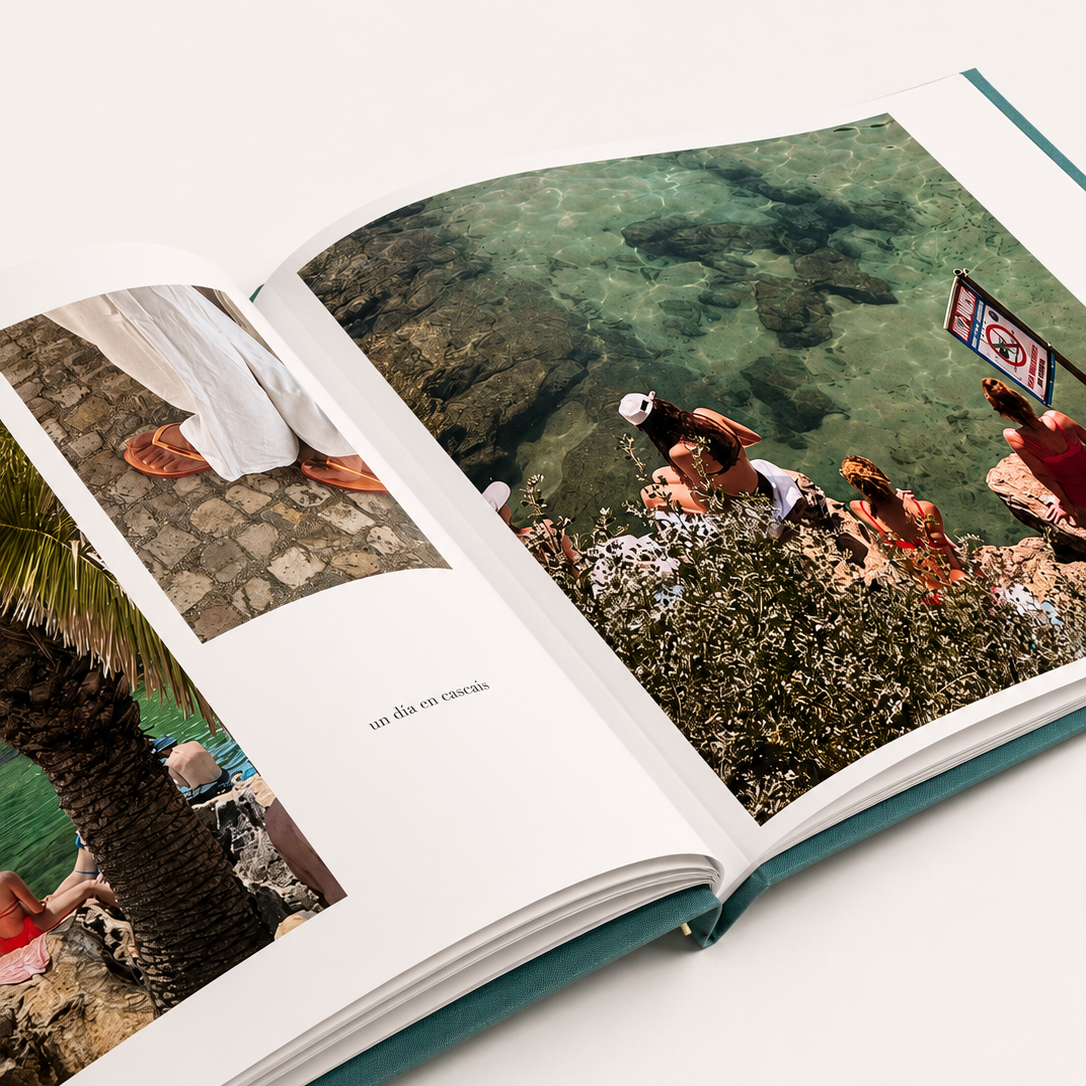
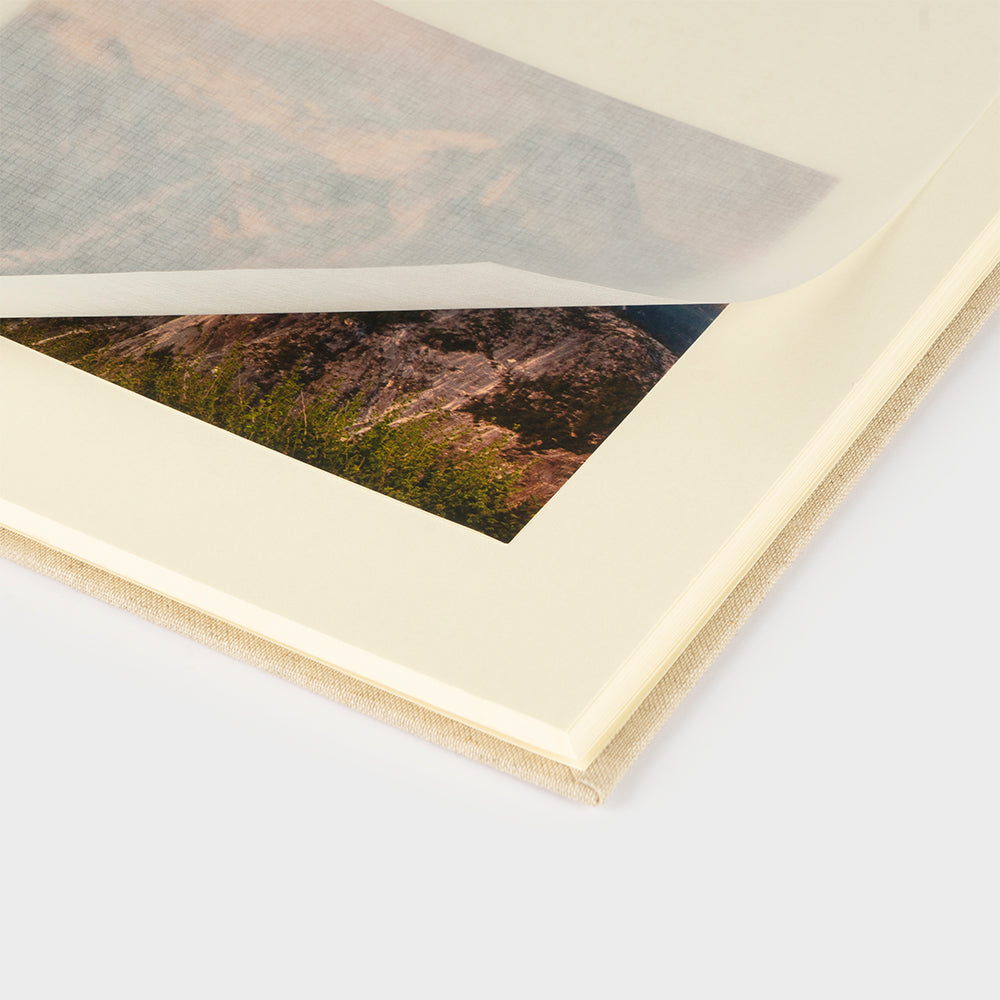
The album has 20 sheets of black cardstock that leave space for 21x22 cm photos. Typically, photos are about 10x15 cm, so two photos fit in landscape or portrait.
Photo album with a black interior. If you want to write notes on your photos, you'll need a marker in a color that stands out against a black background, such as gold or silver.
Personally, I like to include photos on the front and back, so I can fit up to four photos per sheet, so I can include about 80 photos in total. Although, honestly, I'm going to try to combine them and put just one photo on some sides. I like to print my favorites in a larger format, like 15x20cm. This way, I give the story movement.
Mental note: I'll have a box of sticky notes and a silver roller on hand to write everything down!
Your photo albums are stories of your life.
Little moments that will make you relive your best experiences.
Vertical album: family photos
For this second case, I'm going to choose the vertical album model. Since the photos I'm going to display are photos of my family year after year and I like to fill the shelves with color, every time I run out of an album, I'll choose one in a different color. This album model has 30 sheets that leave a 21.5 x 30 cm space to paste the photos.
If the photos you're pasting are 10x15cm, I'll be able to fit up to three photos in landscape or portrait format. And you'll have space to write on the side! By putting three photos per side, you can put up to 180 photos .
My recommendation: play around with the number of photos you include so they don't clutter your view when you look at the album. Add larger photos from time to time, just the ones you like best. You can add four photos on one page (for example, typical ones that look like a sequence or are very similar) and add fewer photos on the next page to balance things out.
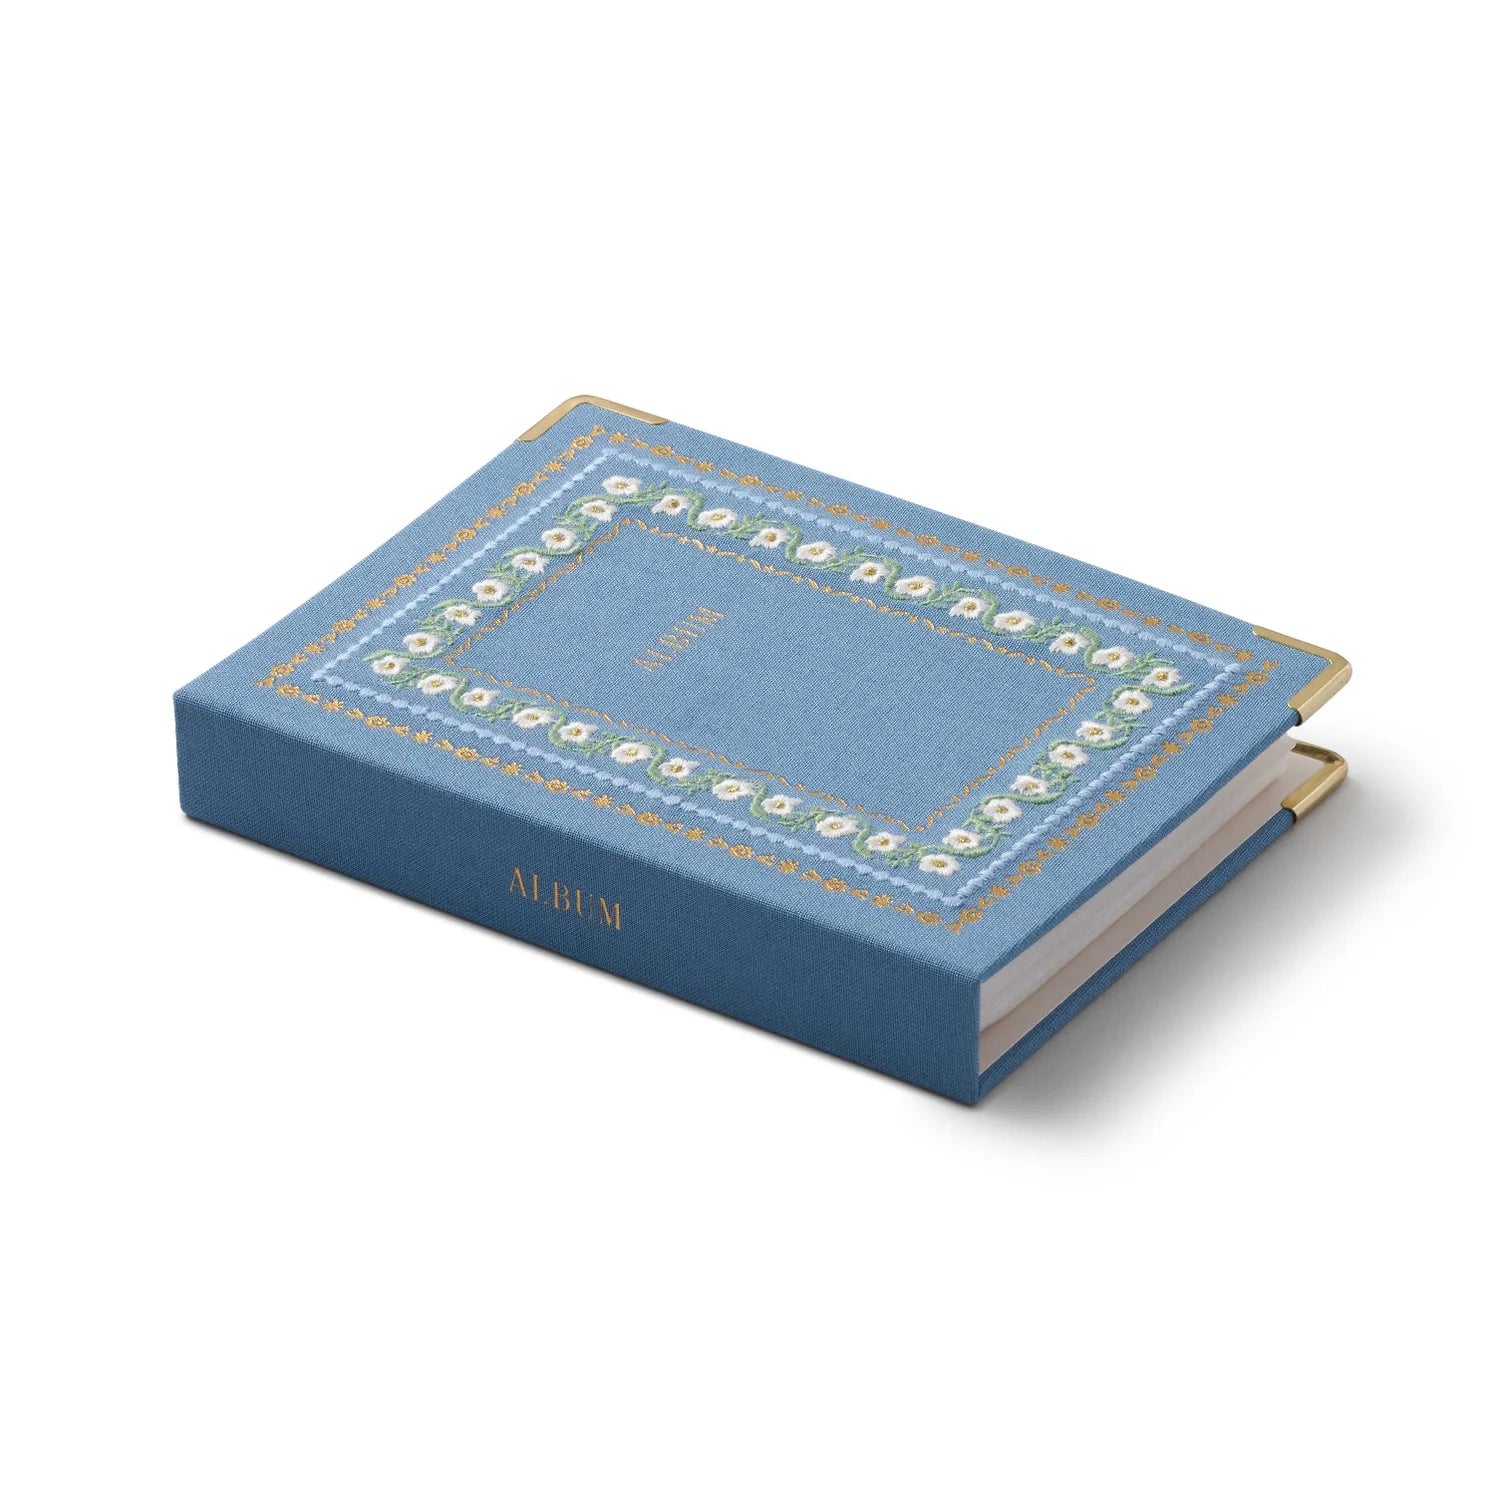
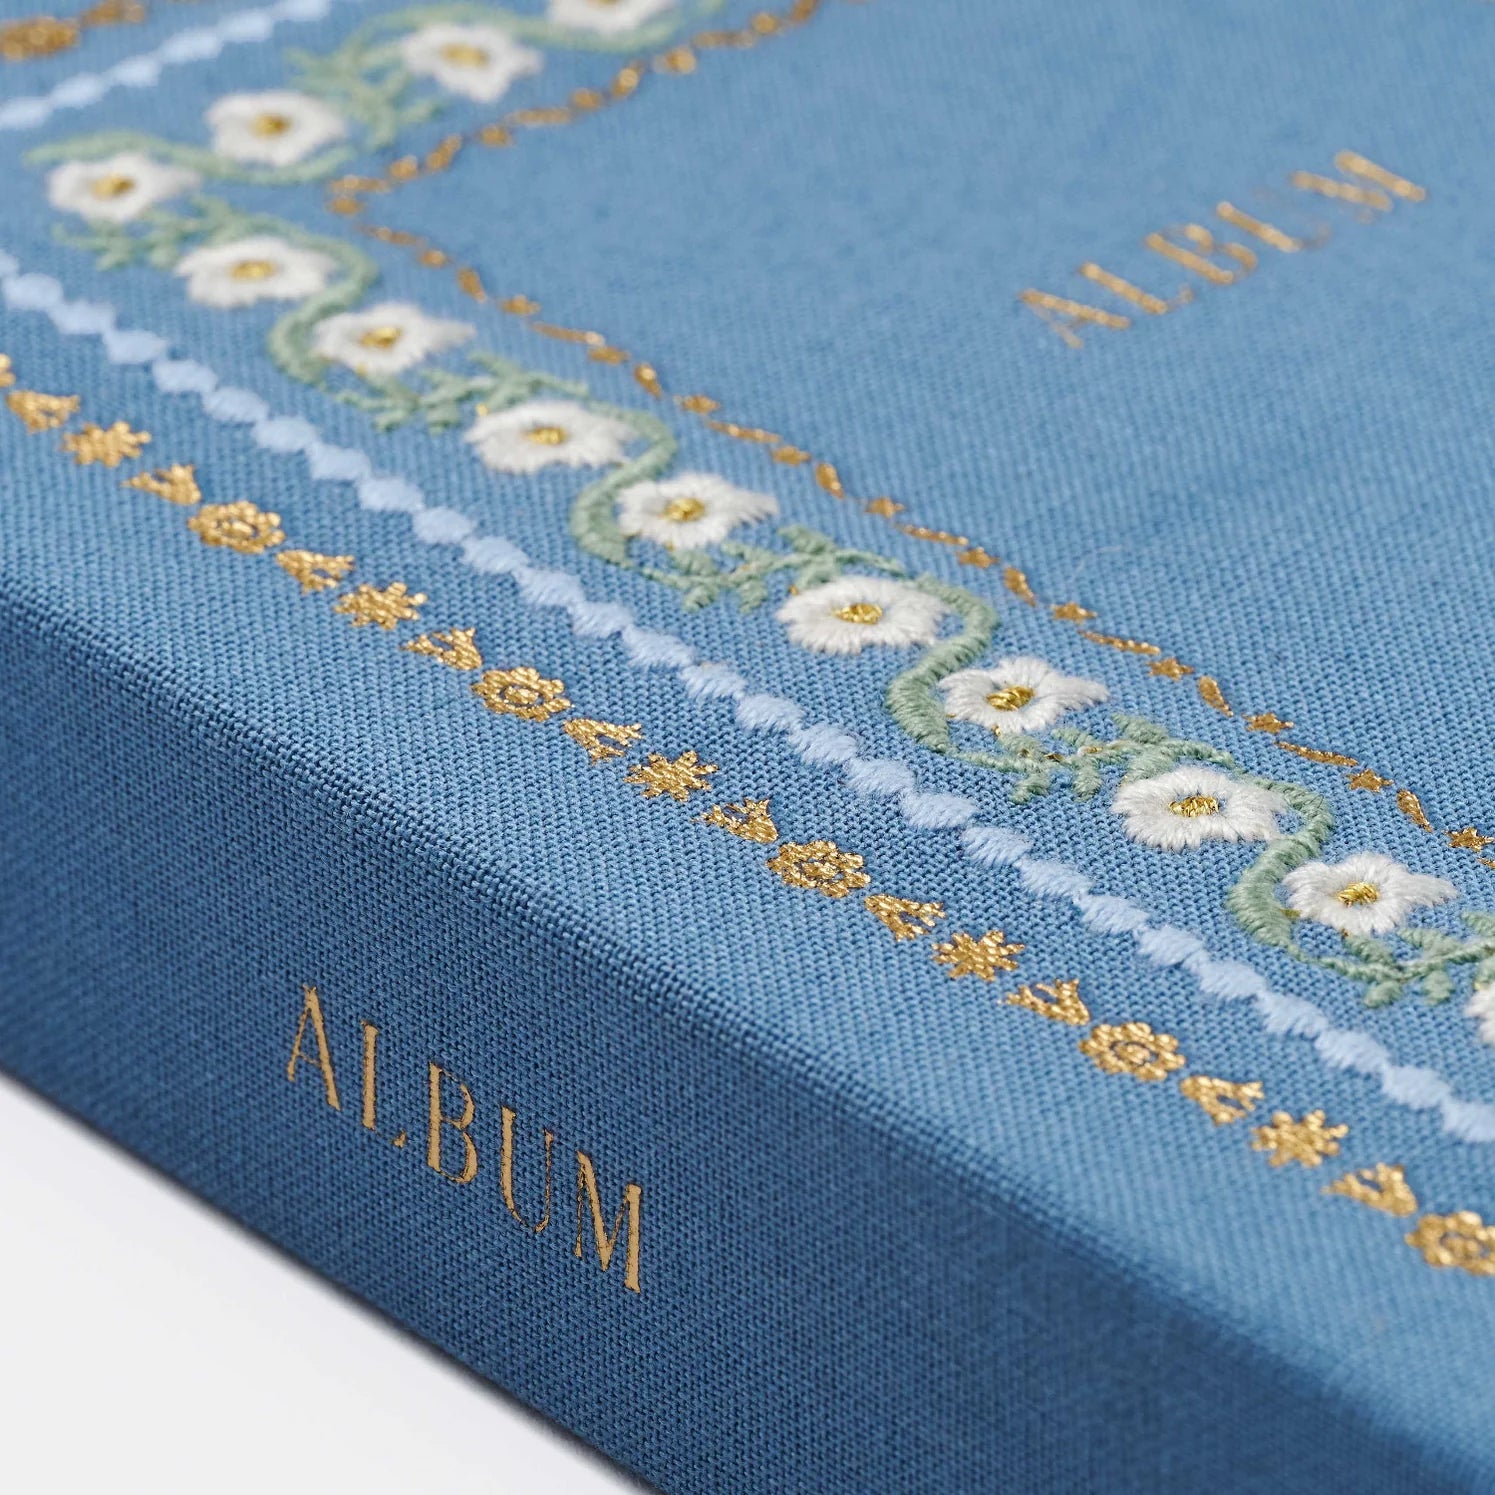
Our albums can be personalized on the cover. This detail will make them unique and help you identify what's inside.
Traditional photo album in our most classic format, perfect for storing family photos year after year. The wedding, the honeymoon, the first child...
Traditional Photo Albums: Baby's First Year Snapshot by Snapshot
Babies have a special place on Pepa Paper's shelves, and photos from a baby's first years are always the most numerous. You'll find several models of baby albums .
On the one hand, our "Little Feet" album , a traditional album with an ivory-colored cardstock interior and a detailed embossed little feet on the cover. It can be personalized with the baby's name or birth date.
On the other hand, you'll find a very special model: the baby-themed book, with its interior full of details so you can write down a thousand things: the most important dates like their first bath, their first tooth, their first swim, their first steps... All with a special space for a photo of the moment—great! And on the cover, a relief print of a stroller.
Both have a special design and finish, perfect for capturing unique moments. In soft colors (blue, pink, and beige) and with baby details, they're the perfect gift (or self-gift) for a new mom.
Surely the idea of making photo albums of everything you've been through is always on your mind, but the time never comes. What better time than now!
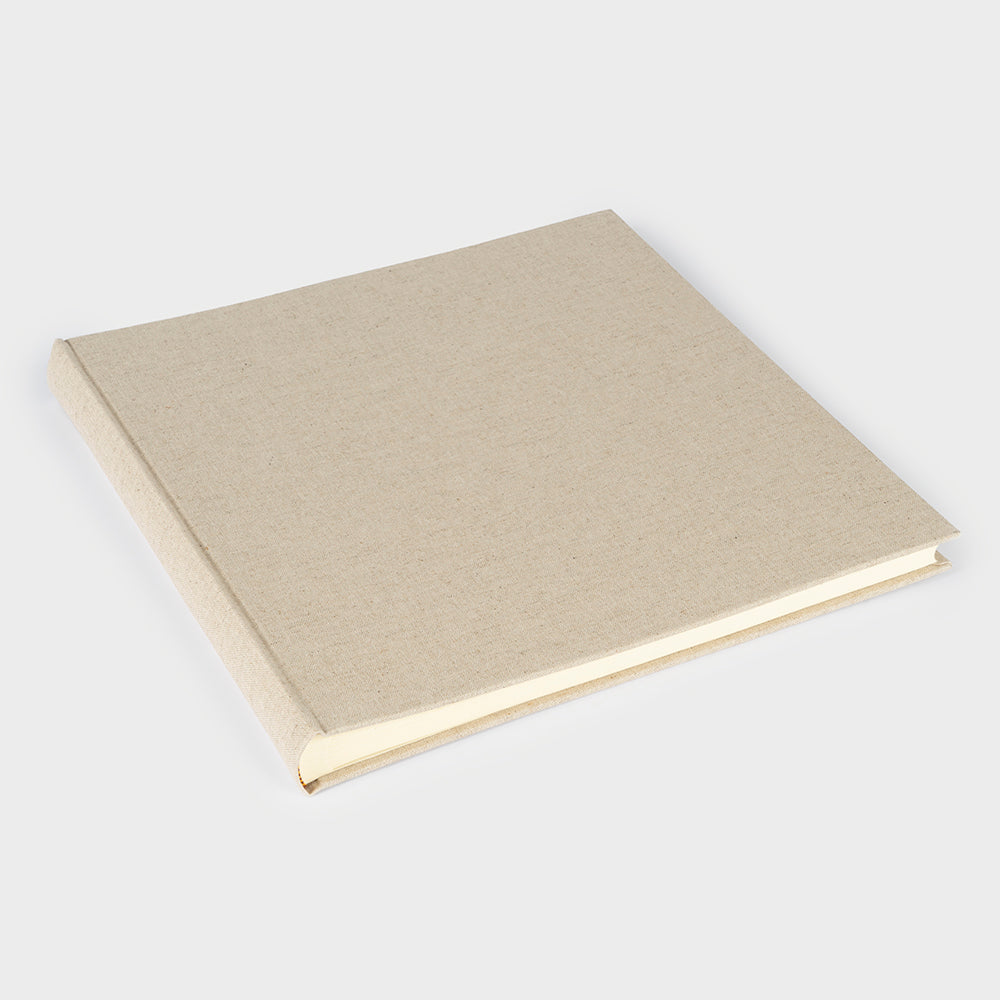
Traditional fabric-covered photo albums in a variety of sizes and designs.
Bring your photos to life, create beautiful traditional photo albums, and relive every moment . Before you know it, you'll have spent a wonderful time pasting photos and jotting down anecdotes. There's no greater satisfaction than being able to cross "update photo albums" off your mental to-do list and relive unique moments. Nothing better than appreciating what you've experienced and planning for the future.
Nowadays, printing photos and making a traditional album may seem almost ancient. However, it's more important than ever.
Think about it, with the advent of smartphones, we take photos practically every day. We send them on WhatsApp, we share them on social media. But after a while, they tend to be forgotten.
We have so many photos that we end up not having any.
Making or updating photo albums is one of those things you never have time for and it's always on your mind.
They involve the initial work of selecting photos, printing them, buying the album, the adhesive to stick the photos... and once you have everything, you have to find that time. But it's worth it.
Come on! Get to work.
Discover the keys to decidingWhich album to buy and how to start making your own traditional photo albumin a simple and entertaining way.


Share:
Tissue Paper Flower Tutorial.
Personal diaries with lock: a must-have in your life